
FDM 3D printer repair
Diagnosis first, parts second. Clogs, bed problems, belts, hotends and firmware, fixed by someone who runs these machines every day.
Why repair is a good fit for a printing shop
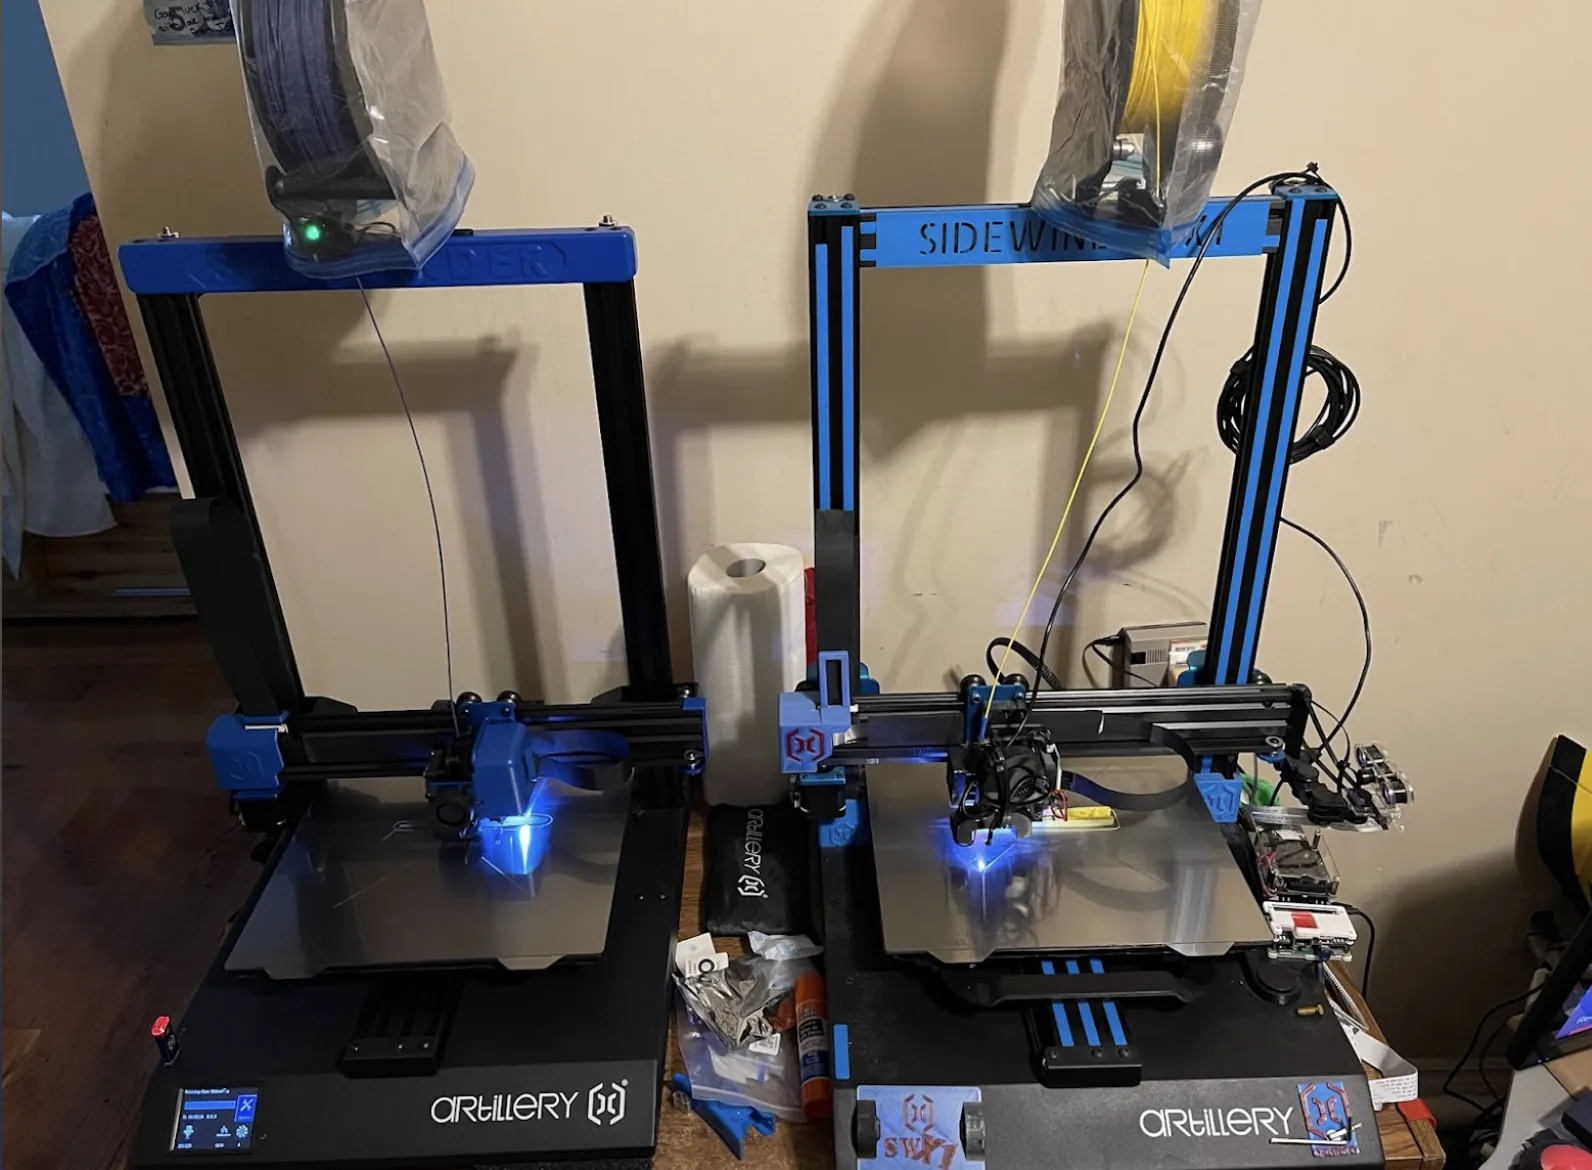
Most 3D printer failures look alike from the outside: a print that stops sticking, a nozzle that stops flowing, a first layer that ripples, or walls that show ghosting. The causes are very different, and guessing wastes time and money. Corsair Custom 3D repairs FDM printers because the shop lives on them. The same machines that print customer parts are maintained, tuned and occasionally rebuilt in the same workshop, so the fault list on this page is not theory. It is a catalogue of what actually goes wrong and how it gets fixed.
Only FDM printers are covered. That includes bed-slinger Cartesian machines, gantry-style printers, CoreXY designs and most popular hobby brands. Resin printers are outside the shop's scope. If your machine is unusual, send a message with the model before bringing it anywhere, so you get an honest answer on whether it can be repaired here.
Extruder clogs and under-extrusion
Clogs are the most common complaint, and not every clog is a solid blockage. A partial clog shows as thin, gappy layers, clicking from the extruder, or filament that grinds against the drive gear. Typical causes include burnt filament residue in the nozzle, heat creep that softens filament too high in the hot end, dust or debris from a dirty spool, a worn or poorly cut PTFE tube, and a heat break that has partially choked. A proper repair removes the cause as well as the plug.
- Cold pulls and nozzle cleaning to remove residue without damaging the bore.
- Nozzle replacement with the right size and material for the filament you actually use. Abrasive filaments need hardened nozzles.
- Cooling checks: the heatsink fan must be moving air, otherwise heat creeps upward and jams the filament path.
- Extruder inspection: idler tension, worn gears, cracked arms, and the path from spool to hot end.
- Rebuilding the hot end with correct tightening, so molten plastic cannot leak past the threads.
After the repair, the extruder is calibrated so that the commanded length of filament matches what is really fed. That step is what turns a working printer into a printer that makes dimensionally accurate parts.
Bed leveling and first-layer problems
A level, flat, well-adhered first layer sets up everything above it. Problems in this area often hide behind each other, so the diagnosis follows a fixed order: mechanical condition first, then trammed bed, then probe and offset, and finally slicer settings.
- Tramming: bringing the four corners to the same distance from the nozzle, using worn or loose adjustment hardware as a clue.
- Bed condition: a warped plate, a failing magnetic sheet, or oil and residue on the surface can all fake a leveling problem.
- Probe and Z offset: correcting a probe that drifts with temperature or is mounted loosely, then setting the Z offset on the real printing surface.
- Mesh compensation: generating a bed mesh and applying it correctly, with the printer fully heat-soaked, since hot beds move.
- Gantry and Z-axis squareness: an X axis that sags or lead screws that bind produce a first layer that tilts, no matter how often the bed is levelled.
The repair ends with a test print that shows first-layer uniformity across the whole plate, not just at the centre. If the surface is the problem, sheet options are recommended for the plastics you print.
Belts, pulleys and motion
Ringing and ghosting echoes around corners, dimensions that drift, or layers that shift partway through a print point to motion problems. Belts stretch and lose teeth over time, pulley grub screws work loose, and idler bearings wear. The remedy is to inspect the full motion path: belt tension and alignment, pulley set screws, wheel and eccentric-nut preload on gantry rollers, frame squareness, and stepper wiring. Belts are tensioned to the manufacturer's guidance and checked by feel and by a test print, since too tight is as harmful as too loose.
Linear rails, rods and bearings are cleaned and lubricated correctly, and wobbling carriages are traced to loose hardware. On printers with roller wheels on aluminium extrusion, a quarter turn on an eccentric nut often changes everything, so a methodical approach matters. After repair, a calibration cube and a ringing test verify that the machine moves cleanly.
Hot ends, heaters and thermistors
Temperature faults range from irritating to dangerous. Typical symptoms include temperatures that swing, a hot end that will not reach its target, a thermal runaway error, or a print that stops mid-job. The usual culprits are a loose or damaged thermistor, a heater cartridge that has slid out of its block, worn wiring that breaks inside the sleeve at the moving carriage, and connectors that have overheated. Heating wires and connectors are inspected carefully, because a poor connection under load can scorch the plastic housing.
- Thermistor and heater cartridge replacement with correct seating and strain relief.
- Heater block and silicone sock checks to hold the nozzle at a stable temperature.
- PID tuning so that hot end and bed hold their target without overshoot.
- Safety review: thermal protection must be active in firmware, and any connector with signs of heat damage is replaced rather than reused.
Firmware, Klipper and print-quality tuning
Modern printers are small computers with moving parts. A wrong value in firmware can ruin a mechanically perfect machine. Corsair Custom 3D works with common Marlin-based firmware and with Klipper, the host-based firmware that moves heavy calculation to a separate small computer and allows fast, quiet printing with detailed configuration. Klipper work includes installing and configuring the host, creating the printer configuration file for your exact machine, flashing the controller board, and verifying that every axis, endstop, fan and heater behaves.
Once the printer runs, tuning delivers the real benefit. Typical tuning steps are calibrating rotation distance for the extruder, running PID calibration, setting pressure advance so corners and starts of lines are crisp, applying input shaping to reduce ringing at speed, defining a bed mesh with proper heat soak, and checking stepper driver settings. Each change is measured with a test print instead of assumed. The result is a printer that makes cleaner parts, often faster than before, with settings written down so you can restore them later.
Not every printer needs Klipper. Sometimes a solid Marlin setup with sensible limits is the right answer, and a repair should not turn into an unnecessary conversion. You will be told which route makes sense.
Other common repairs
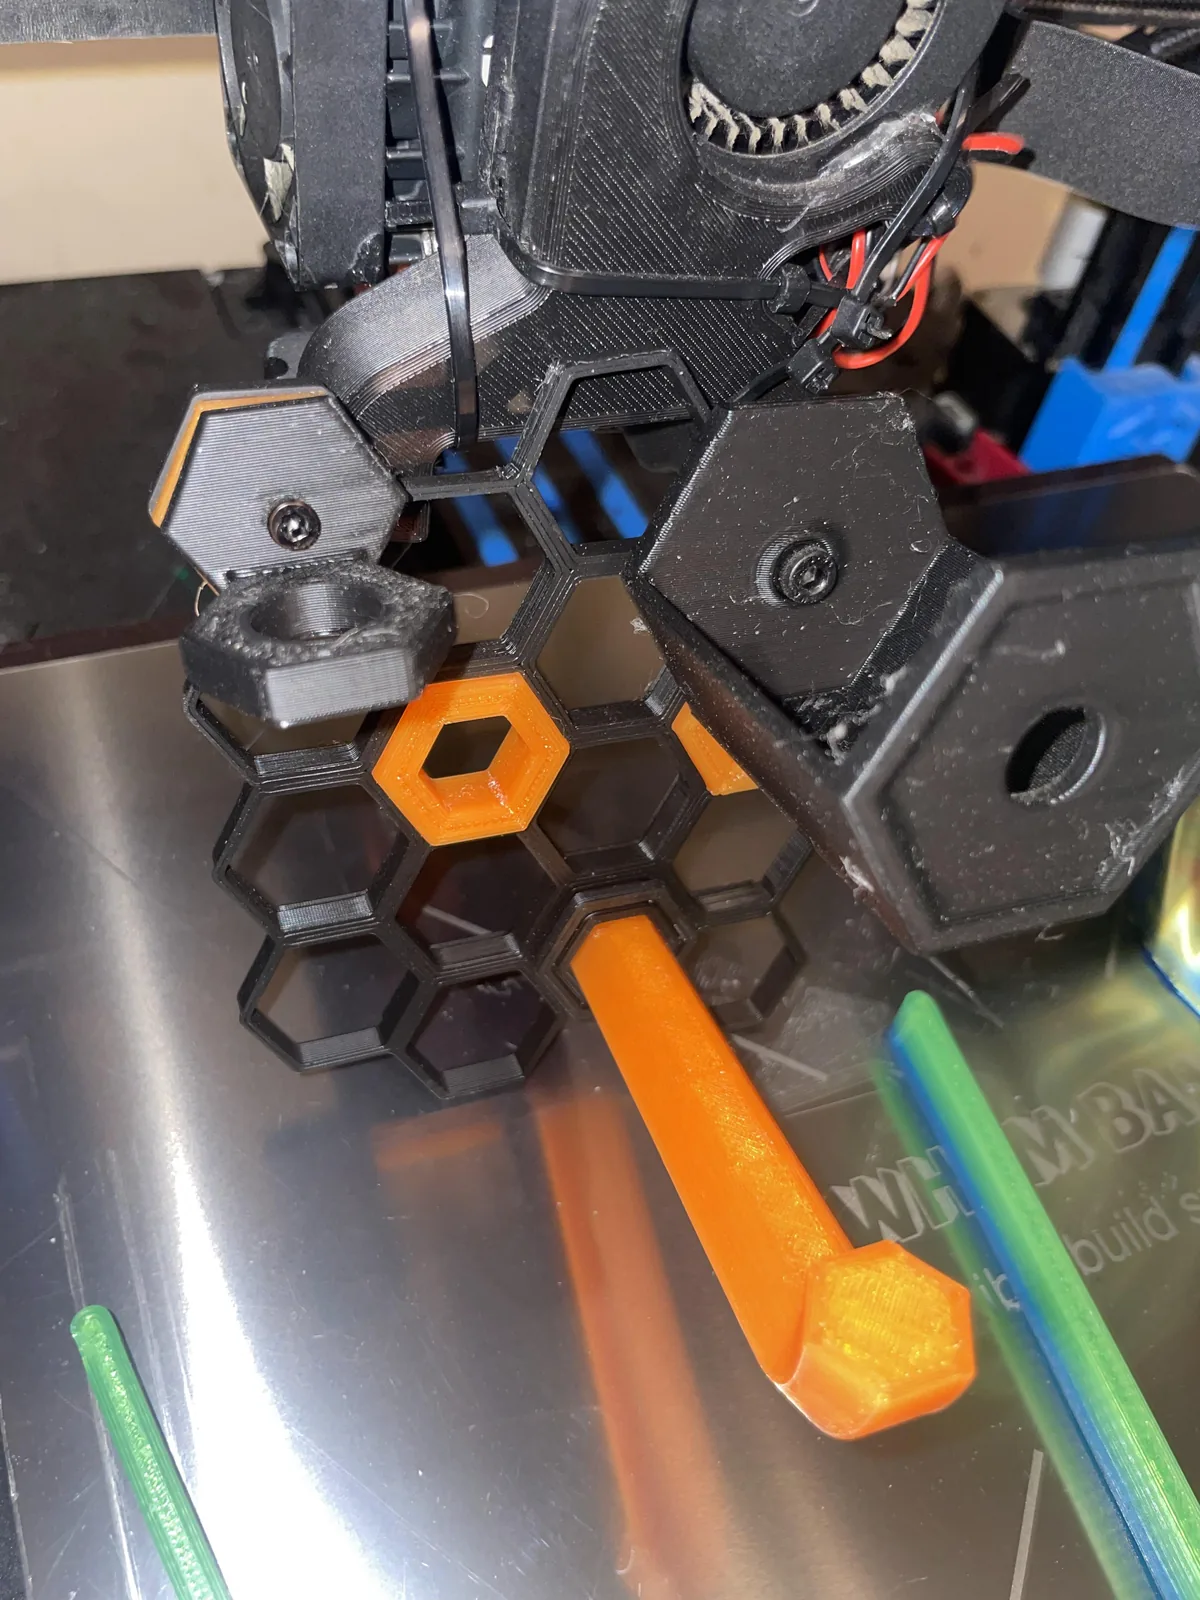
- Cooling fans and ducts that have failed or been damaged, including reprinting a custom duct.
- Stepper motors and drivers that overheat, skip steps or hum.
- Power supply and mainboard faults, tracked down by measurement, not by guessing.
- Z-axis binding and lead screw issues that cause banding on tall prints.
- Cracked printed parts on the printer itself, reprinted in a stronger plastic and orientation than the original.
- Filament path problems, including spool holders, runout sensors and tangled feeds.
How a repair works
Start by describing the symptom, the printer model, any recent changes, and what you have already tried. Photos of a failed print and a short clip of the printer running are very useful. Jose will reply with likely causes, whether remote advice might solve it, and whether the machine needs to be seen in person. If it does, the diagnosis is done before any parts are replaced, and you receive a quote that separates labour from parts. After approval, the repair is carried out and verified with a test print. The general ordering flow is described on the how it works page.
The repair is covered by the shop's promise. If the same fault returns because the repair did not hold, it is revisited. Details are on the quality guarantee page.
Preventing the next failure
A little routine care prevents most calls. Keep filament dry, since wet plastic hisses, strings and clogs. Clean the bed surface regularly and avoid touching it with bare fingers. Check belt tension and pulley screws every few months, and wipe and lubricate rails according to the manufacturer. Replace worn nozzles on a schedule, and keep the heatsink fan free of dust. If you print in ABS or ASA, use ventilation and avoid drafts. After a repair, you will get a short list of upkeep tips matched to your printer.
If you are curious about the kinds of parts these machines produce, see the 3D printing services page. If something broke on an R/C model, the R/C planes and jets page describes the parts that get printed to replace it.