FDM 3D printing services
Custom prints in the plastics that suit the job, with honest tolerances and a clear process from file to finished part.
What FDM printing is good at
Fused deposition modelling pushes plastic filament through a heated nozzle and draws each layer of a part onto a build plate. It is the most widely used form of 3D printing because the machines are affordable, the plastics are practical, and the parts are genuinely functional: brackets that carry a load, covers that survive handling, clips that flex, housings that hold electronics. Corsair Custom 3D works only in FDM, which means the shop knows its machines, its materials and its limits in detail instead of dabbling in several processes.
FDM is at its best for functional parts, fit-check prototypes, fixtures and jigs, enclosures, replacement components, and large objects that would be expensive in other processes. It is less suited to mirror-smooth surfaces, microscopic detail or perfectly watertight thin shells. A good quote starts with that honest sorting, and Jose will tell you early if a different approach would serve the part better.
Materials and when to use them
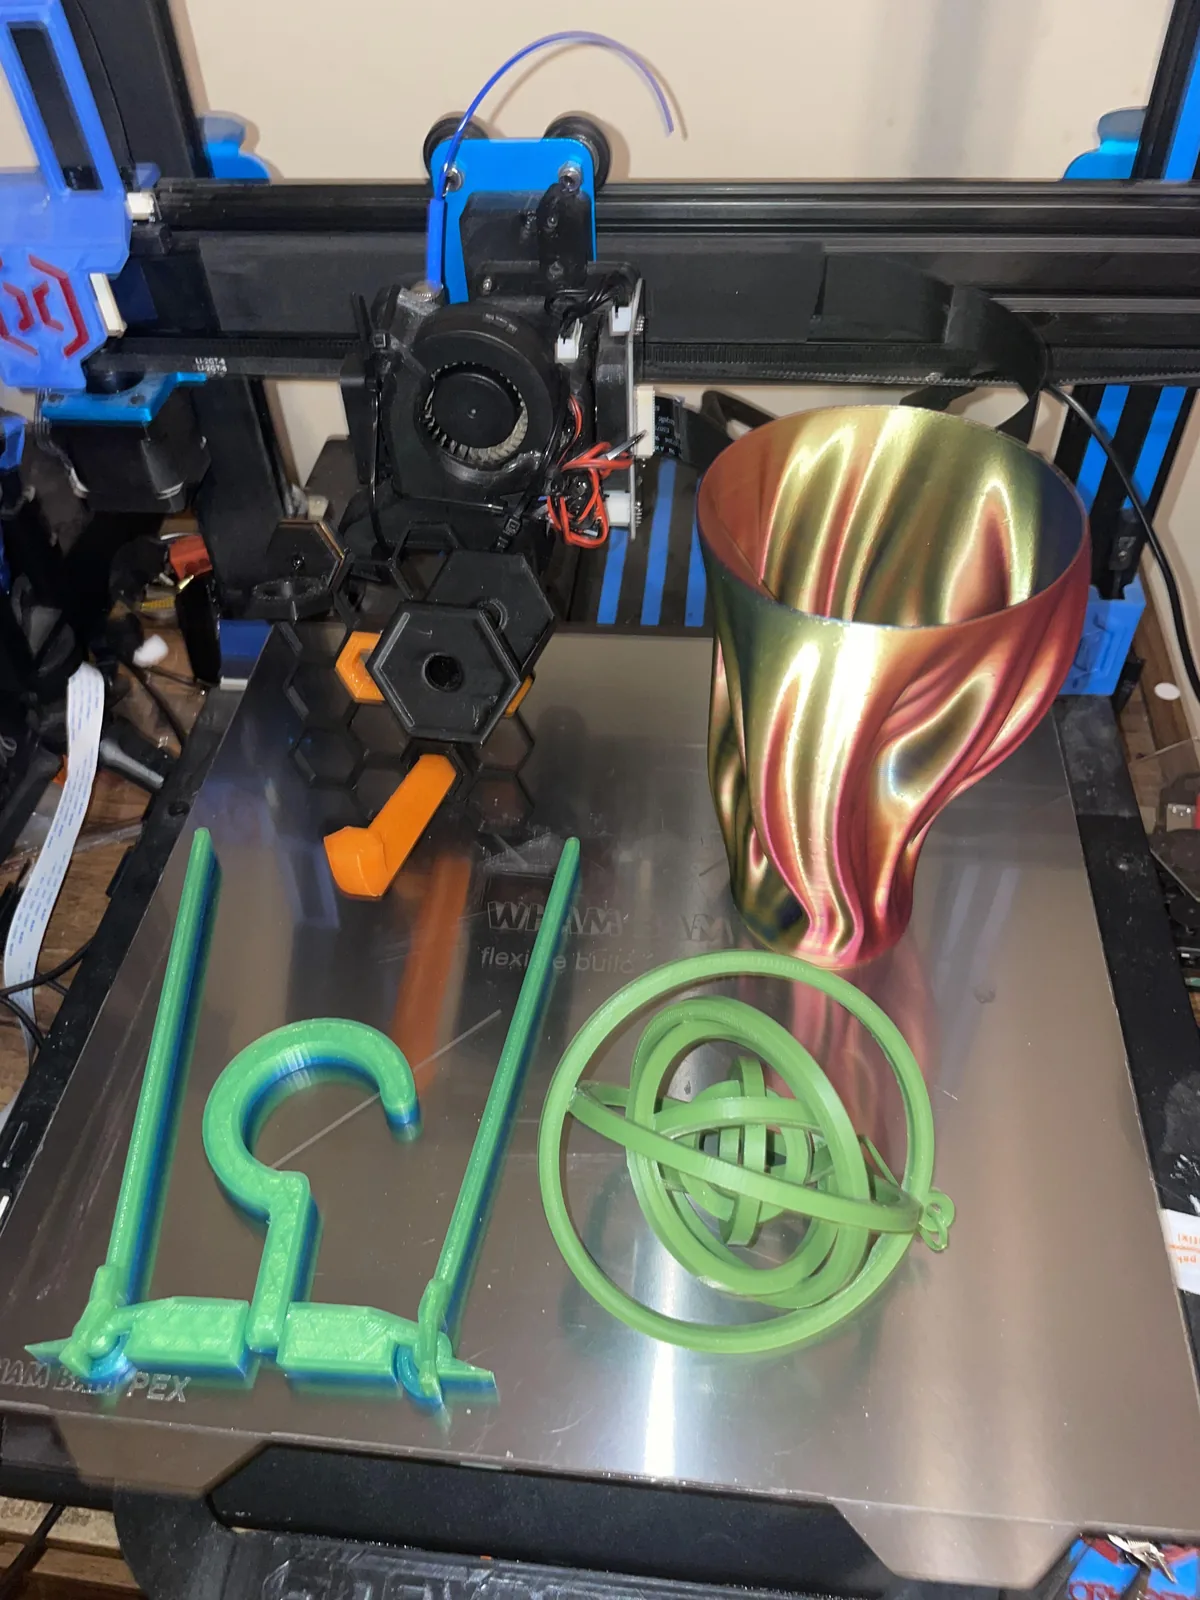
Choosing the plastic matters as much as the design. Each material below is a trade between strength, heat tolerance, flexibility, outdoor durability and how easily it prints accurately. Properties are general guidance; the right call for your part depends on the load, the temperature and where it will live.
| Material | Strengths | Watch out for | Typical uses |
|---|---|---|---|
| PLA | Easy to print accurately, stiff, crisp detail, wide colour range including silk and multicolour finishes. | Softens in a hot car or near heat sources, can be brittle under shock, not ideal for long outdoor exposure. | Display pieces, prototypes, indoor fixtures, light-duty brackets, many R/C airframe parts. |
| PETG | Tougher and more forgiving than PLA, better heat and chemical resistance, a little flex before failure. | Stringing needs tuning, surface scratches more easily, absorbs moisture if stored badly. | Enclosures, mechanical covers, food-adjacent organisers, parts that get knocked about. |
| ABS | Good heat resistance, tough, can be smoothed and glued with solvent. | Warps without an enclosure, emits fumes while printing, shrinks as it cools. | Under-hood style parts, housings that run warm, parts that will be sanded and painted. |
| ASA | ABS-like strength with strong UV and weather resistance, holds colour outdoors. | Needs the same warp control as ABS and good ventilation. | Outdoor brackets, garden and vehicle accessories, signage mounts, weather-exposed covers. |
| TPU | Rubber-like flexibility, excellent abrasion and impact resistance, absorbs vibration. | Prints slowly, fine bridging and overhangs are limited, very soft grades are harder. | Gaskets, bumpers, anti-slip feet, protective sleeves, vibration isolators. |
Other filaments can be discussed on request, but only after checking that the printers and hot ends can handle them. If you are not sure which plastic you need, describe what the part does, how hot it gets and whether it lives indoors or outdoors, and Jose will recommend one. The business parts page goes deeper on matching material to environment for industrial and commercial uses.
Tolerances: what to expect
Every FDM process has a margin of error, and pretending otherwise leads to parts that do not fit. As a practical rule, well-tuned FDM prints land within a few tenths of a millimetre of the model on most features. Outside dimensions tend to come out slightly large and holes slightly small, because the extruded line has width and the plastic spreads a little. Experienced designers compensate by adding clearance where parts must mate.
- Sliding or snap fits: plan roughly 0.3 to 0.5 mm of clearance per mating surface, depending on size and material.
- Press fits and threaded inserts: holes are sized from test prints for the specific material, and heat-set inserts are a strong alternative to printed threads.
- Flatness and warping: long, thin, flat parts in ABS or ASA can bow as they cool. Orientation, brims and chamber temperature are used to control this, and you will be told if a part is at risk.
- Layer lines: FDM parts are strongest along the layers and weakest between them. Print orientation is chosen so loads run with the layers, not across them.
When a fit is critical, the best approach is a quick test print of the mating area before committing to the full part. That small step costs little and saves reprints. The case study on the webcam mount shows exactly this: clearances of 0.5 mm and 0.8 mm were chosen deliberately, then verified against the real object.
Layer height, walls and infill
Three settings do most of the work. Layer height controls surface finish and print time: finer layers look smoother, thicker layers print quickly and are fine for structural parts. Wall count and thickness control most of a part's strength, far more than infill percentage, because loads travel through the outer shells. Infill is the internal lattice; a modest percentage with a sensible pattern is usually enough, and a higher setting only pays off for parts that need stiffness or mass.
Instead of one default profile, settings are chosen per job. A cosmetic piece in silk PLA gets fine layers and a slow outer wall. A bracket gets extra walls and an orientation that puts layer lines where they will not peel apart. A flexible TPU foot gets a slow speed and a direct-drive friendly profile. If you have a strong preference, say so in your message.
Supports, orientation and large parts
Overhangs steeper than roughly forty-five degrees usually need support structure, which is removed afterwards and can leave a rougher surface. Smart orientation reduces supports, and where it cannot, supports can be tuned so they break away cleanly. For parts larger than the build volume of a typical hobby-class machine, the answer is to split the model into sections with alignment features and join them with adhesive or fasteners. This is routine for the larger R/C airframes described on the R/C planes and jets page.
Finishing and post-processing
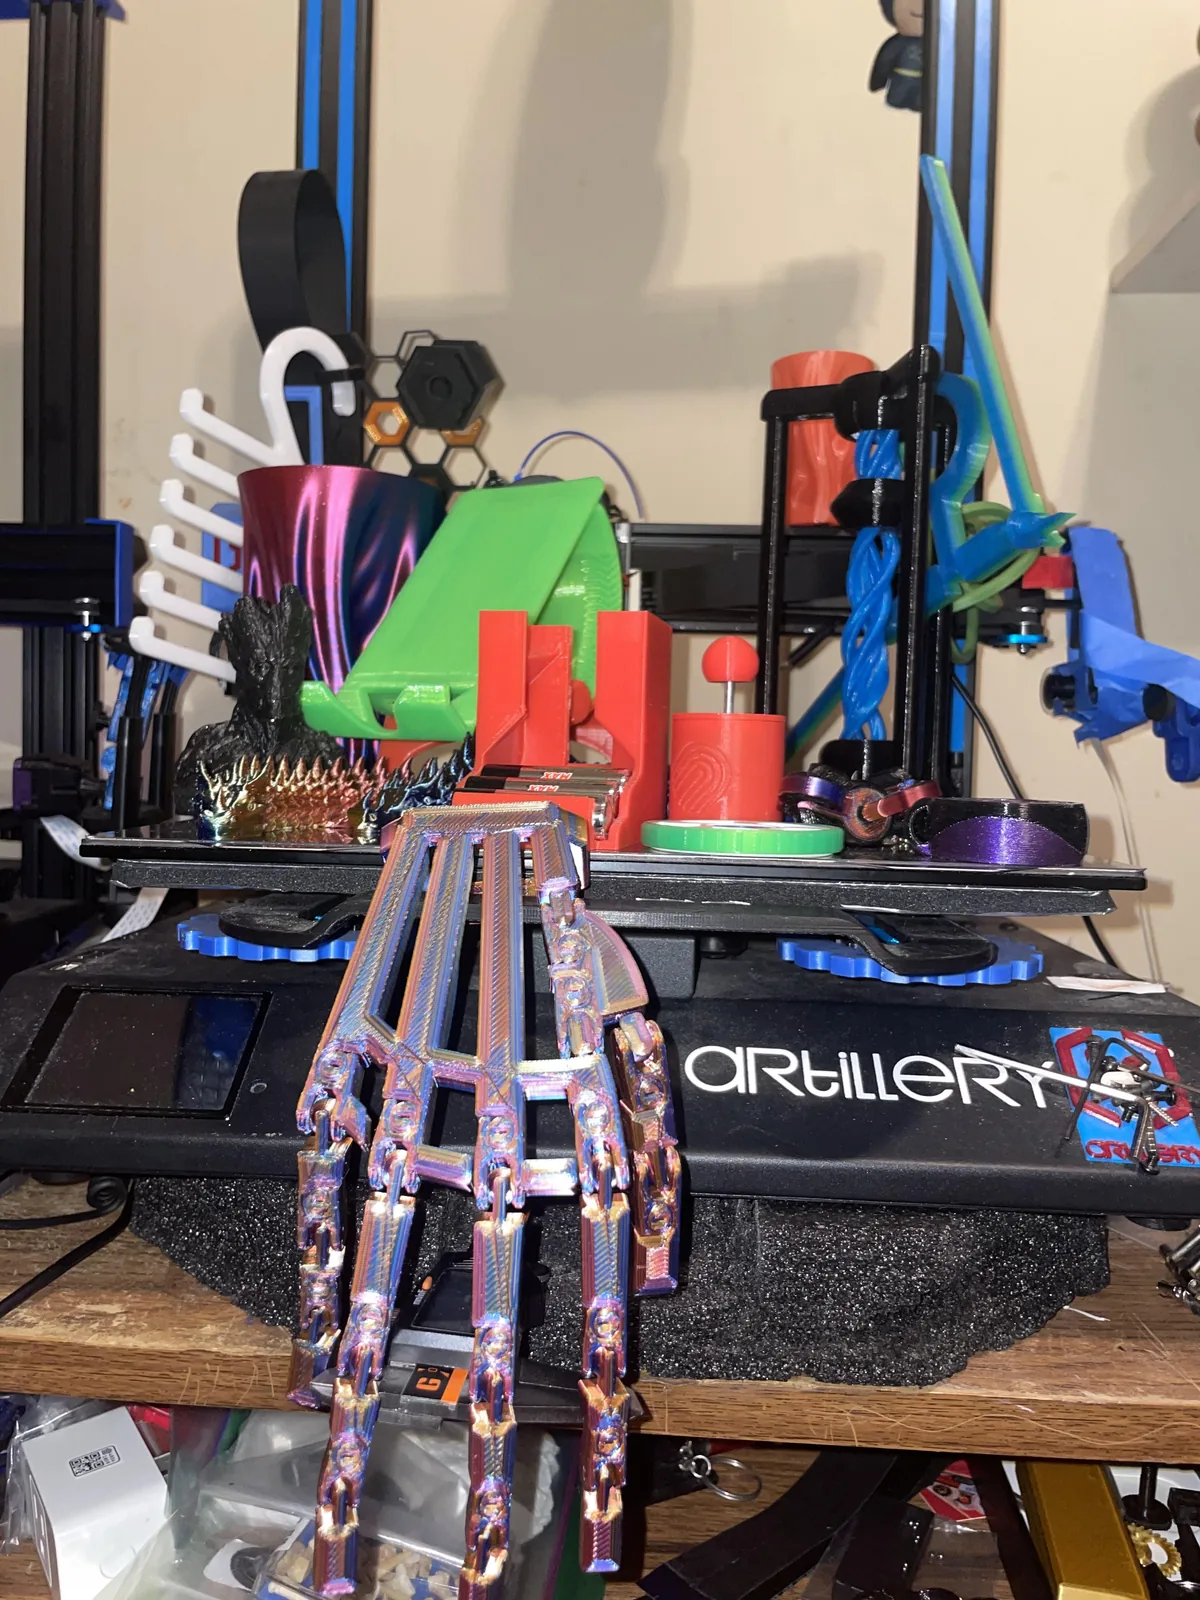
Most functional parts leave the printer ready to use after supports are removed and edges are cleaned. When a part needs more, common options include sanding and filling for a smoother surface, painting or solvent smoothing for suitable plastics, installing heat-set threaded inserts, and drilling or reaming critical holes to final size. Assembly of multi-part prints, including gluing, pinning and fitting hardware, can also be handled. Let Jose know the finish you want and it will be built into the quote.
Files you can send
If you already have a model, STL or 3MF files are ideal, and STEP files are welcome when edits might be needed. If you only have an idea, a sketch, a photo of the broken part or a drawing with the key dimensions is enough to begin. Where a model must be created, the design is built parametrically, meaning dimensions are stored as named values so a change in one number updates the whole part. That approach is how the webcam mount versions were developed, and it makes revisions fast. Designs for repeat orders can be kept on file if you agree to it.
One-offs, prototypes and small runs
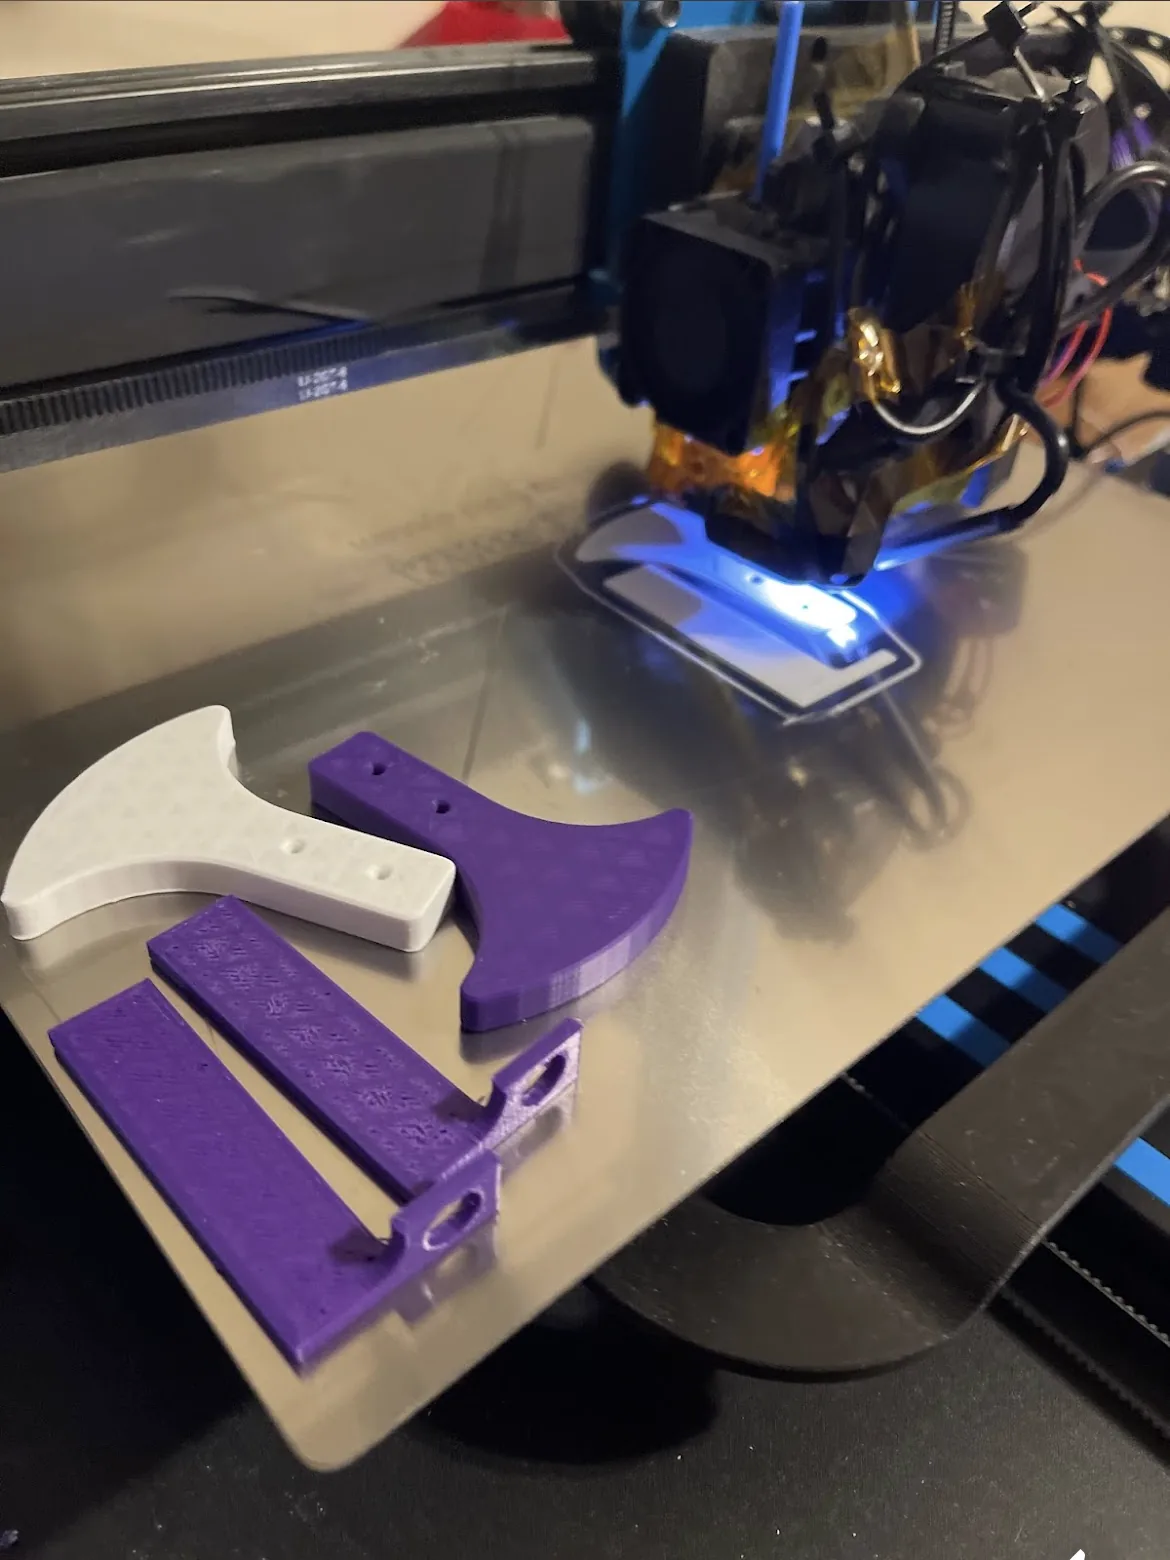
There is no minimum order. A single printed spare is a perfectly normal job, and so is a run of a few dozen identical parts. For prototypes, the usual pattern is to print a version, test it, adjust the model and print again. Because printing and design happen in the same place, that loop is short. For small repeat runs, settings are locked in after the first good article so later copies match it.
Pricing and getting started
Quotes reflect material, print time, any design time and finishing. They are given before printing starts, so there are no surprises. The simplest way to begin is to read the ordering process, then email your details through the contact page. If you would like reassurance first, the quality guarantee explains how problems are handled, and the FAQ covers common questions about shipping, confidentiality and file formats.