
Gallery of FDM prints and R/C parts
A look at what comes off the printers: aircraft, replacement parts, mechanisms and display pieces, with notes on what makes each one interesting.
How to read these photos
Photos are the quickest way to judge what FDM printing can really do, so this gallery sticks to straightforward pictures of finished and in-progress work taken in the home shop and at the flying field. They are not retouched studio shots. You can see layer lines, support marks and the printers themselves, which is the honest look of an FDM part. Each section below explains what to notice. If something here is close to what you need, mention it in your message on the contact page.
R/C jets and aircraft parts
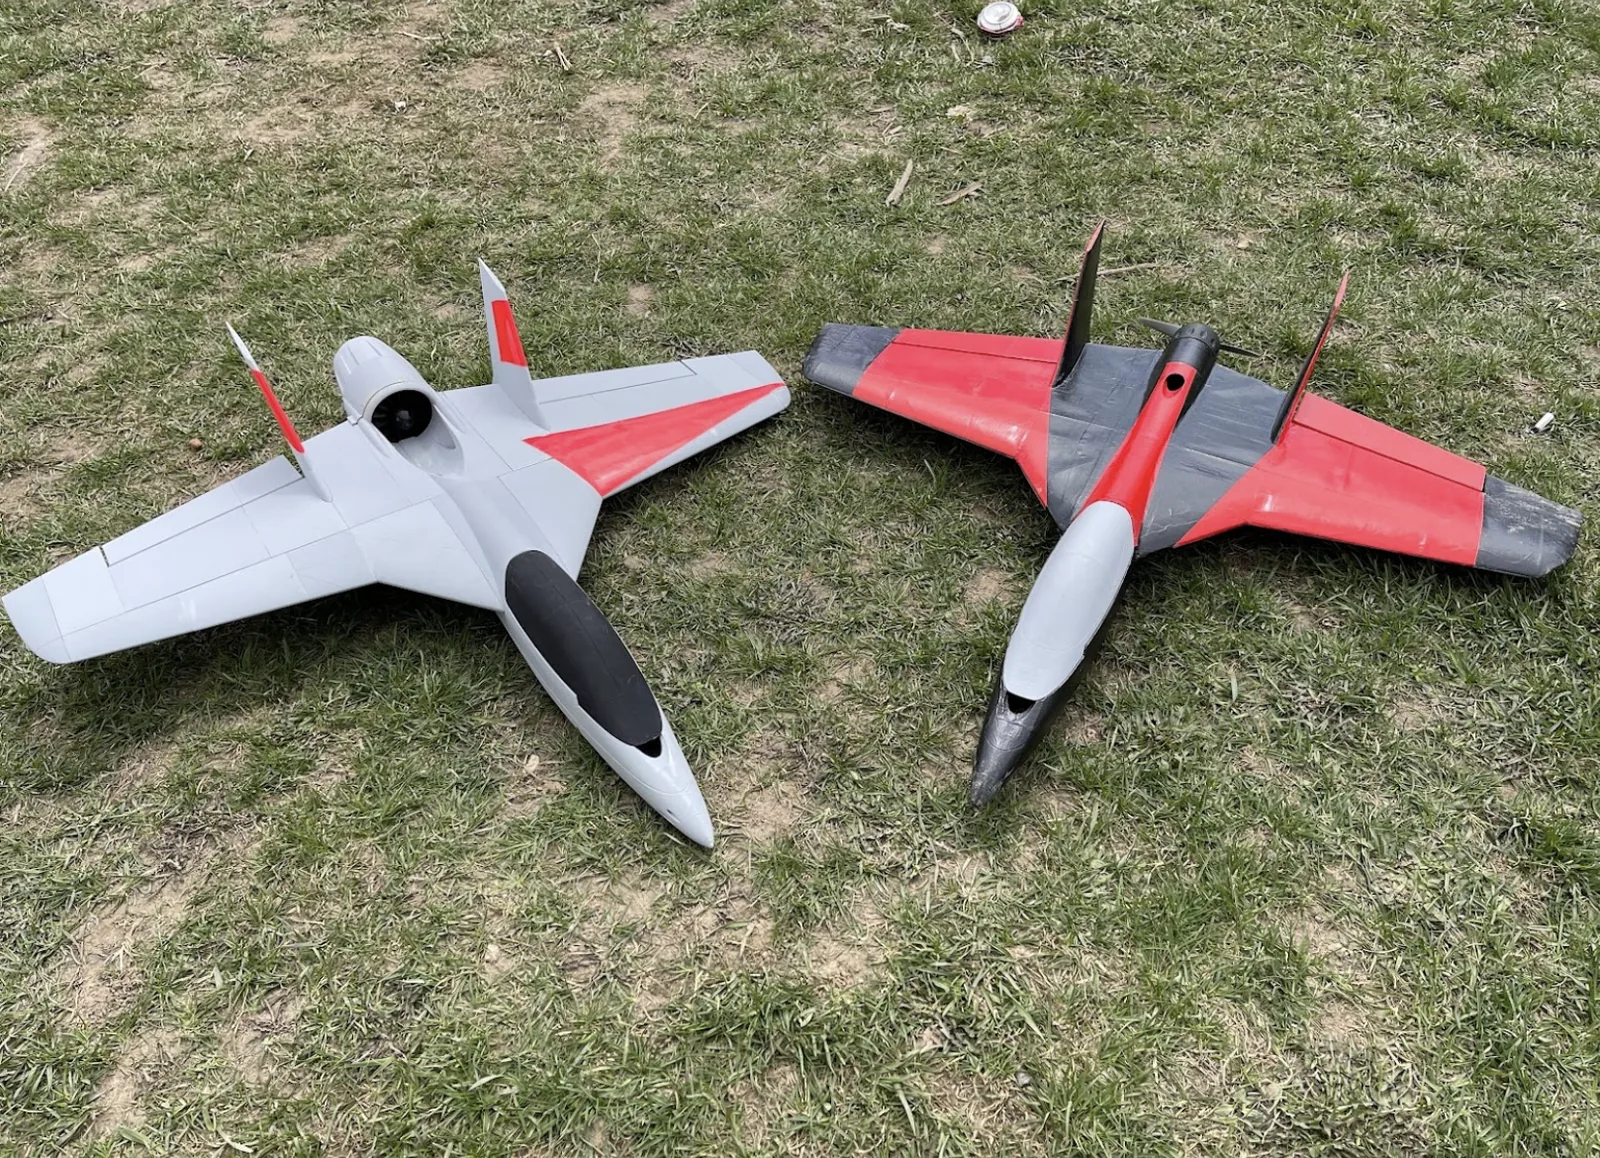
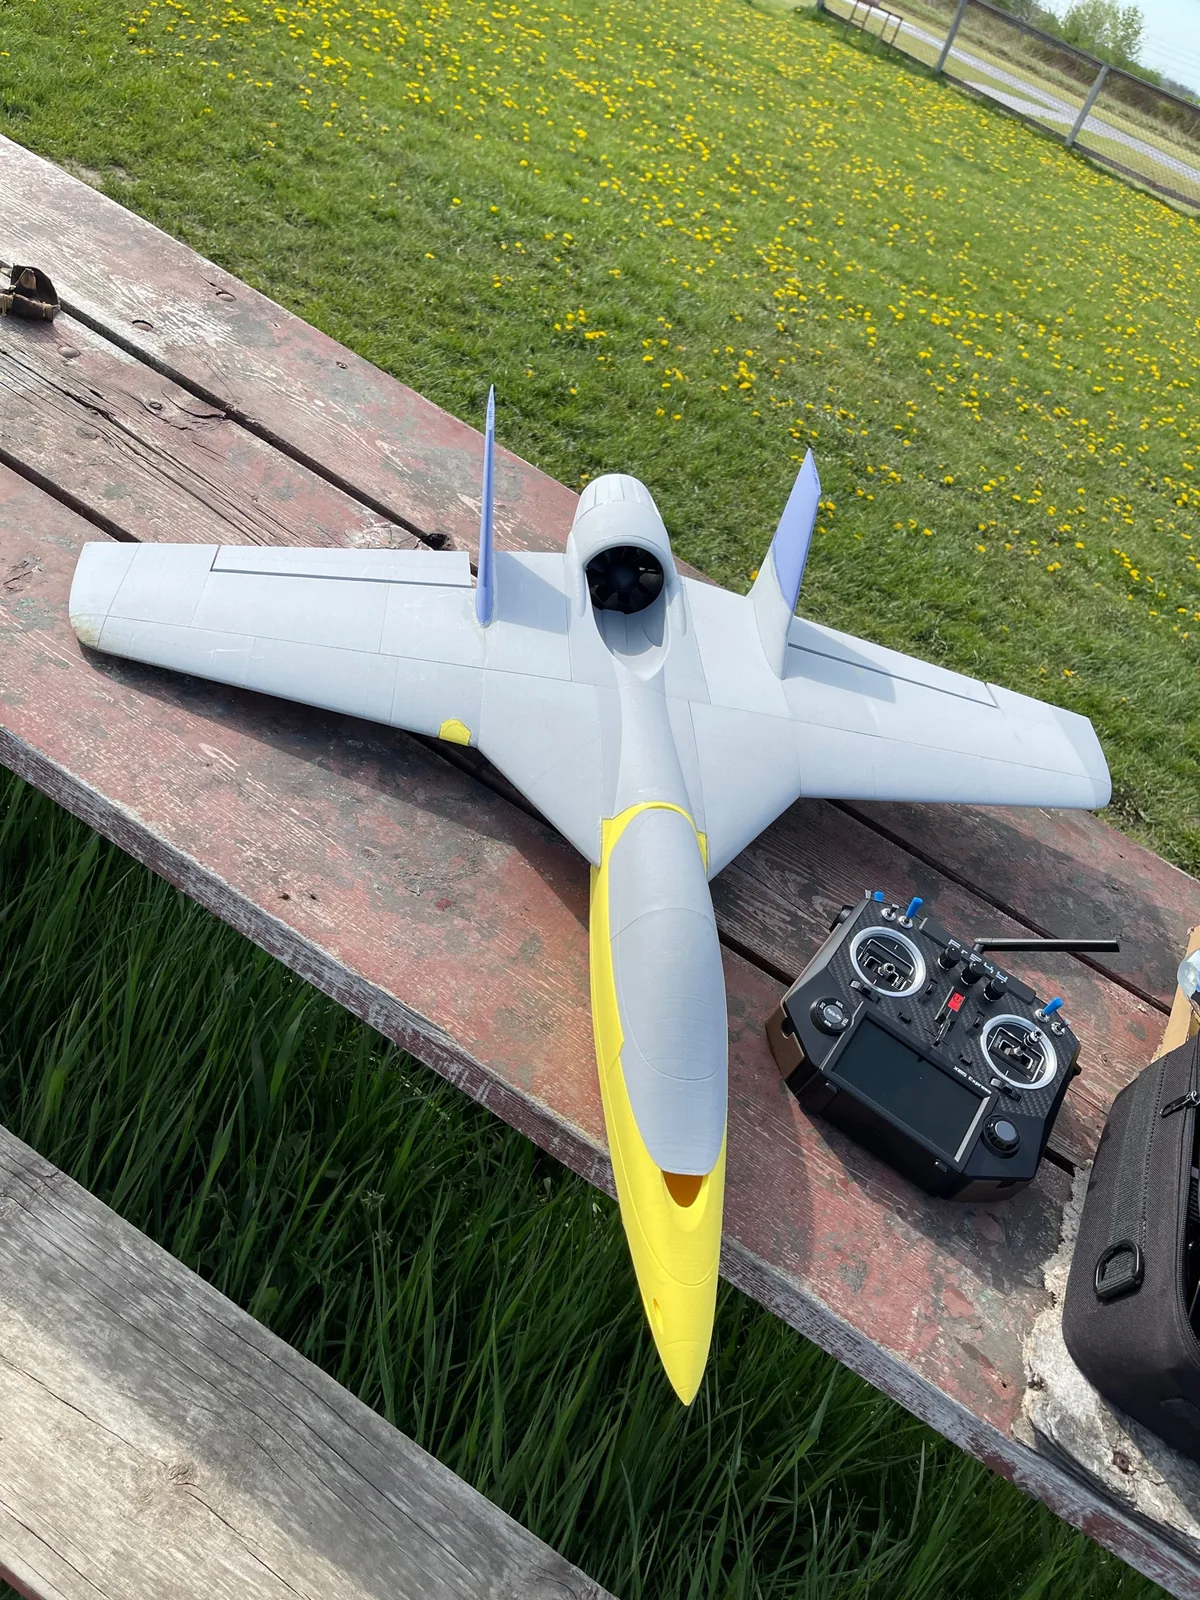
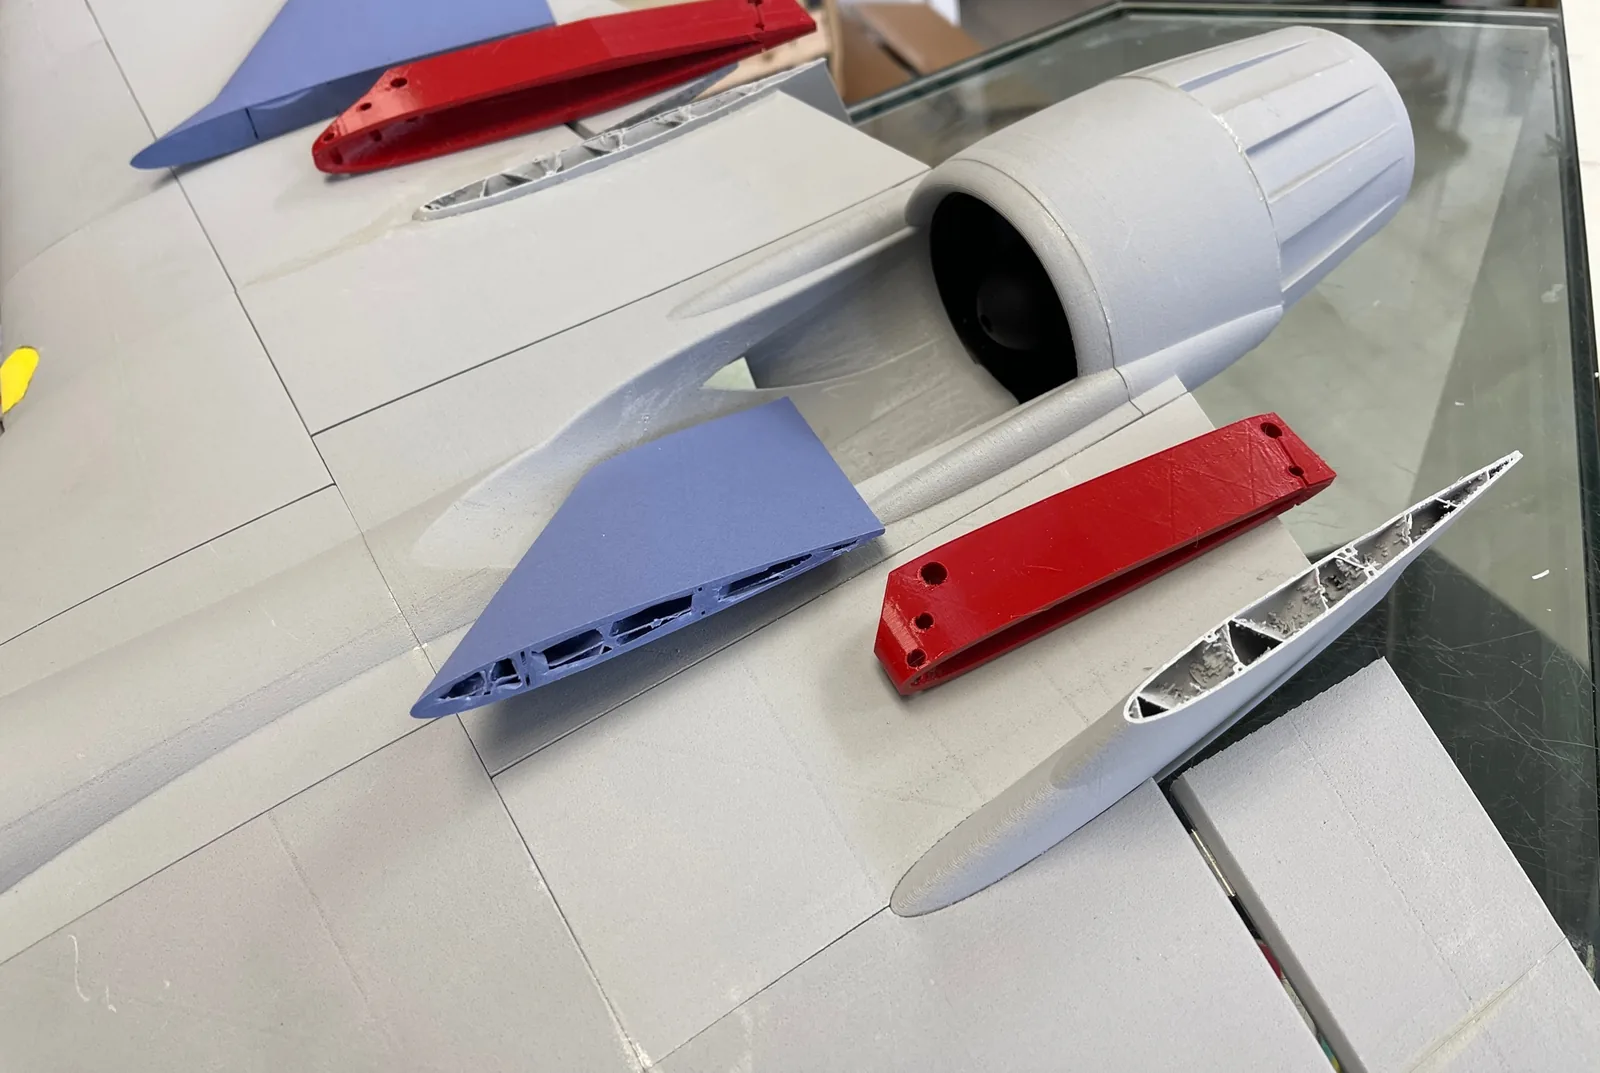
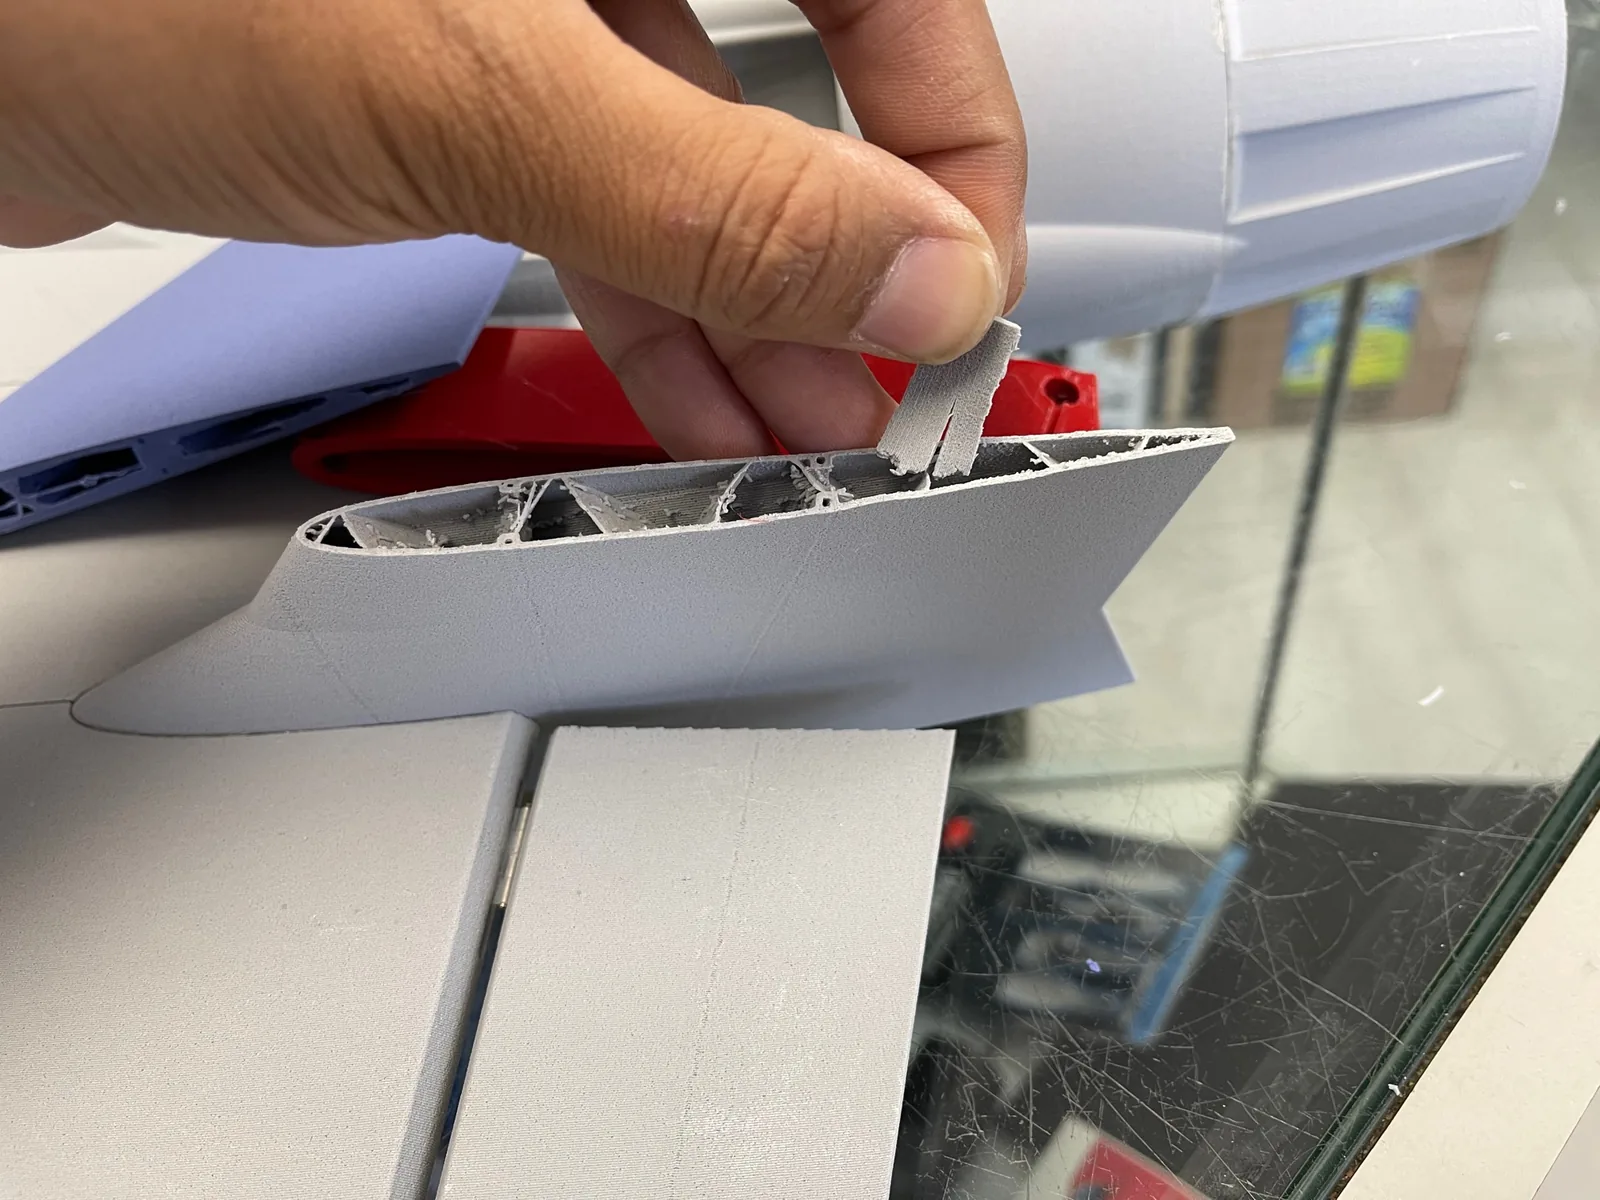
Printed aircraft are the shop's favourite subject. The pictures in this section show full airframes outdoors and the individual parts that make them up. Notice how the surfaces are smooth enough to paint, how fins and tips are separate sections that can be replaced after a hard landing, and how the colour choices help builders identify parts during assembly. The R/C planes and jets page explains the structure and materials in detail.
The printers behind the parts
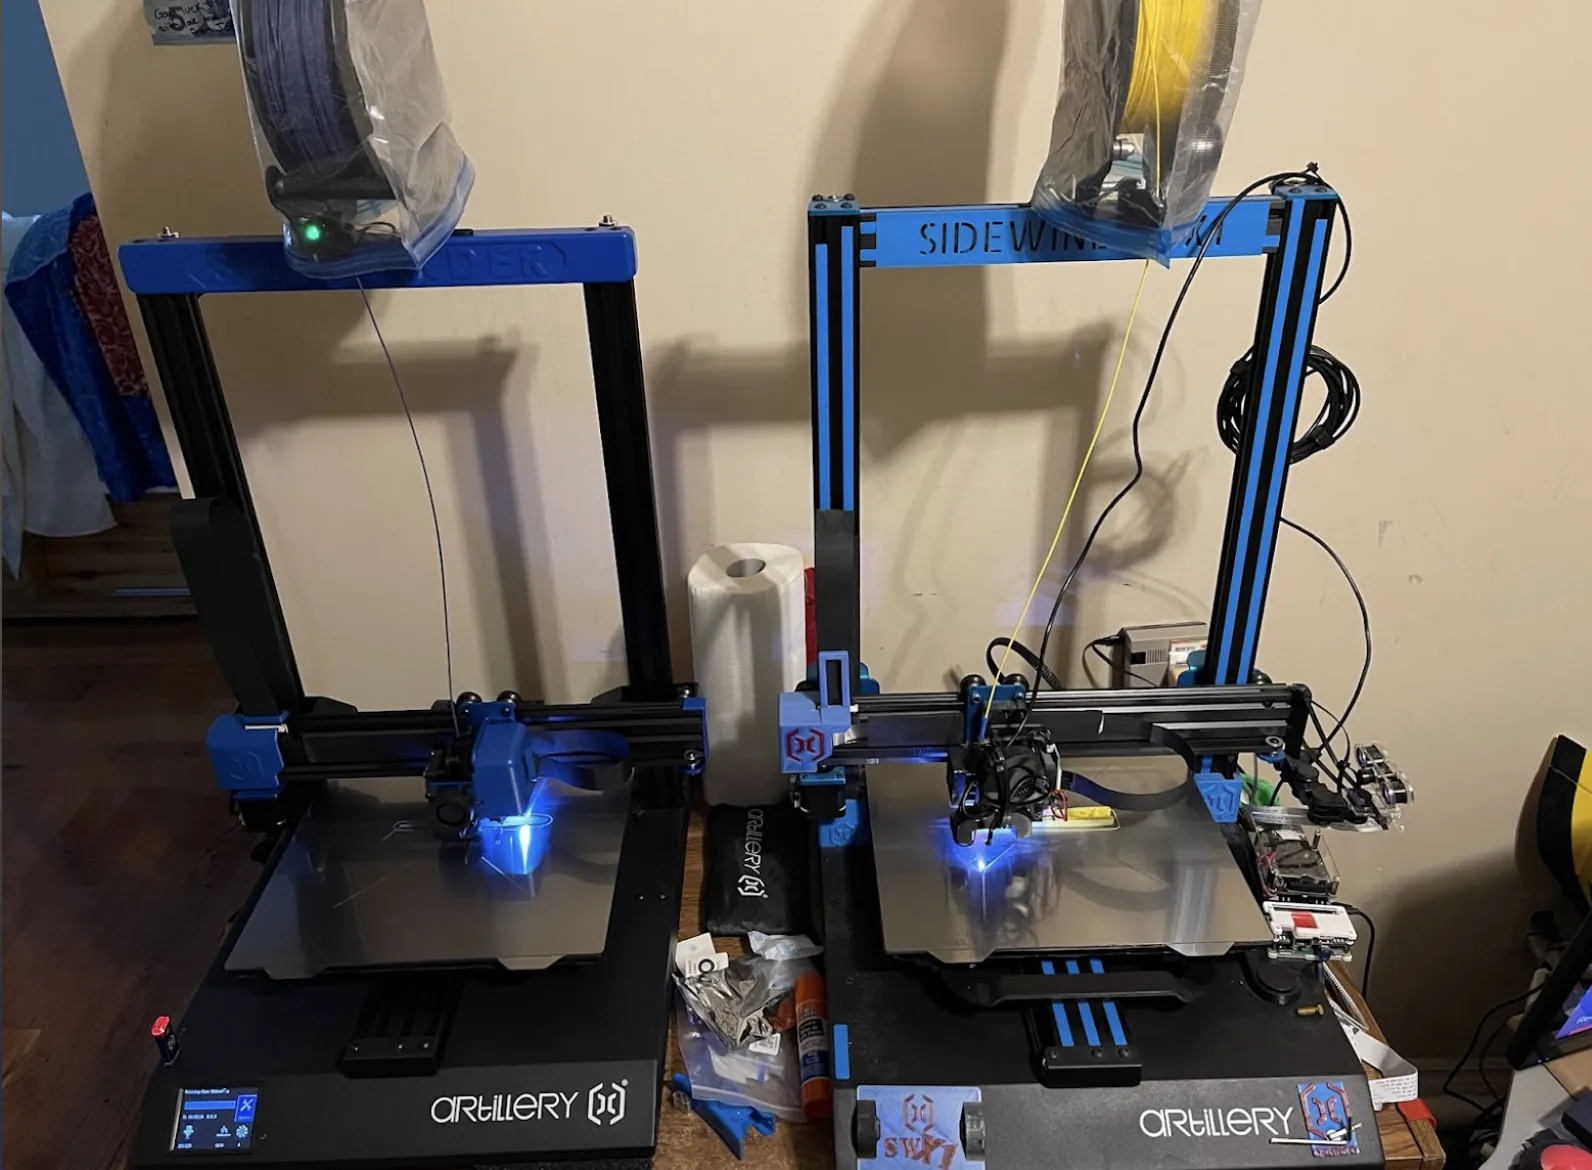
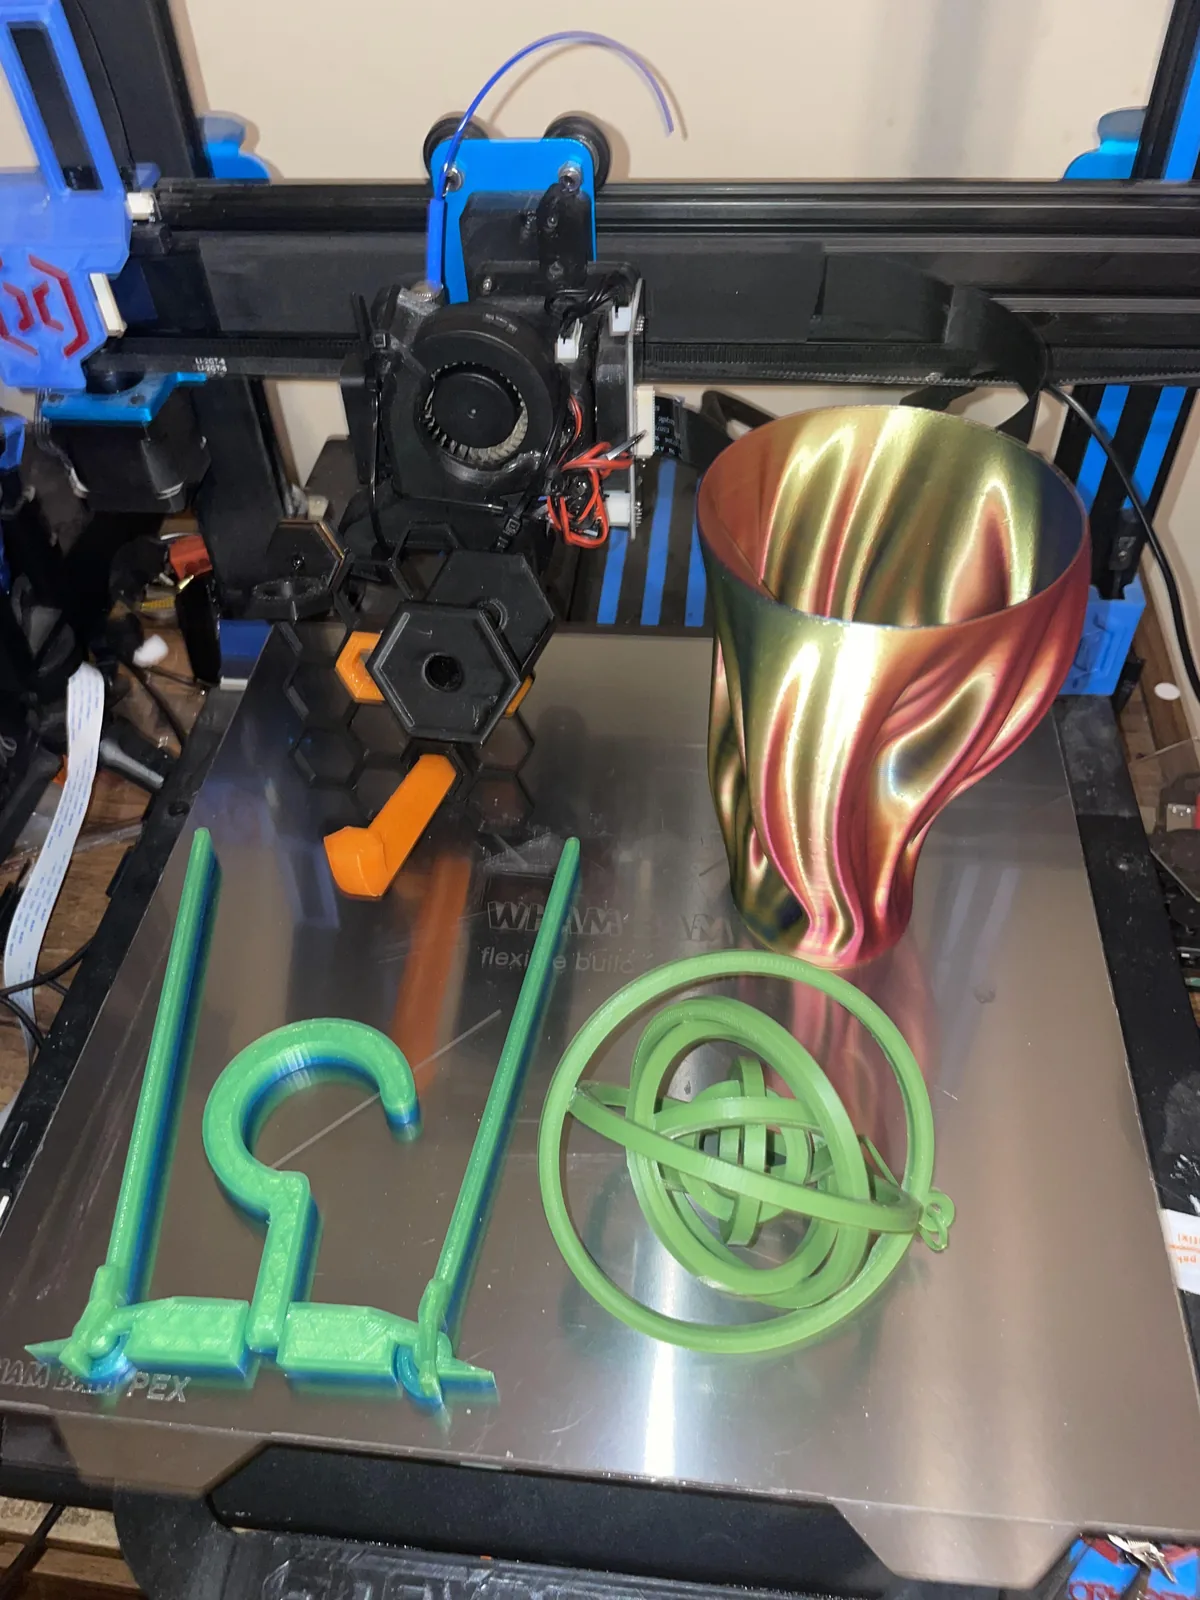
Parts only look good if the machines are looked after. The shop runs several FDM printers, including Artillery Sidewinder-style Cartesian machines with blue frames and direct-drive extruders. Keeping them running smoothly is part of the job, and the same maintenance work is offered as a service on the printer repair page. In this photo, two printers are working at once, each with a spool mounted above for easy feeding.
Functional parts and replacements
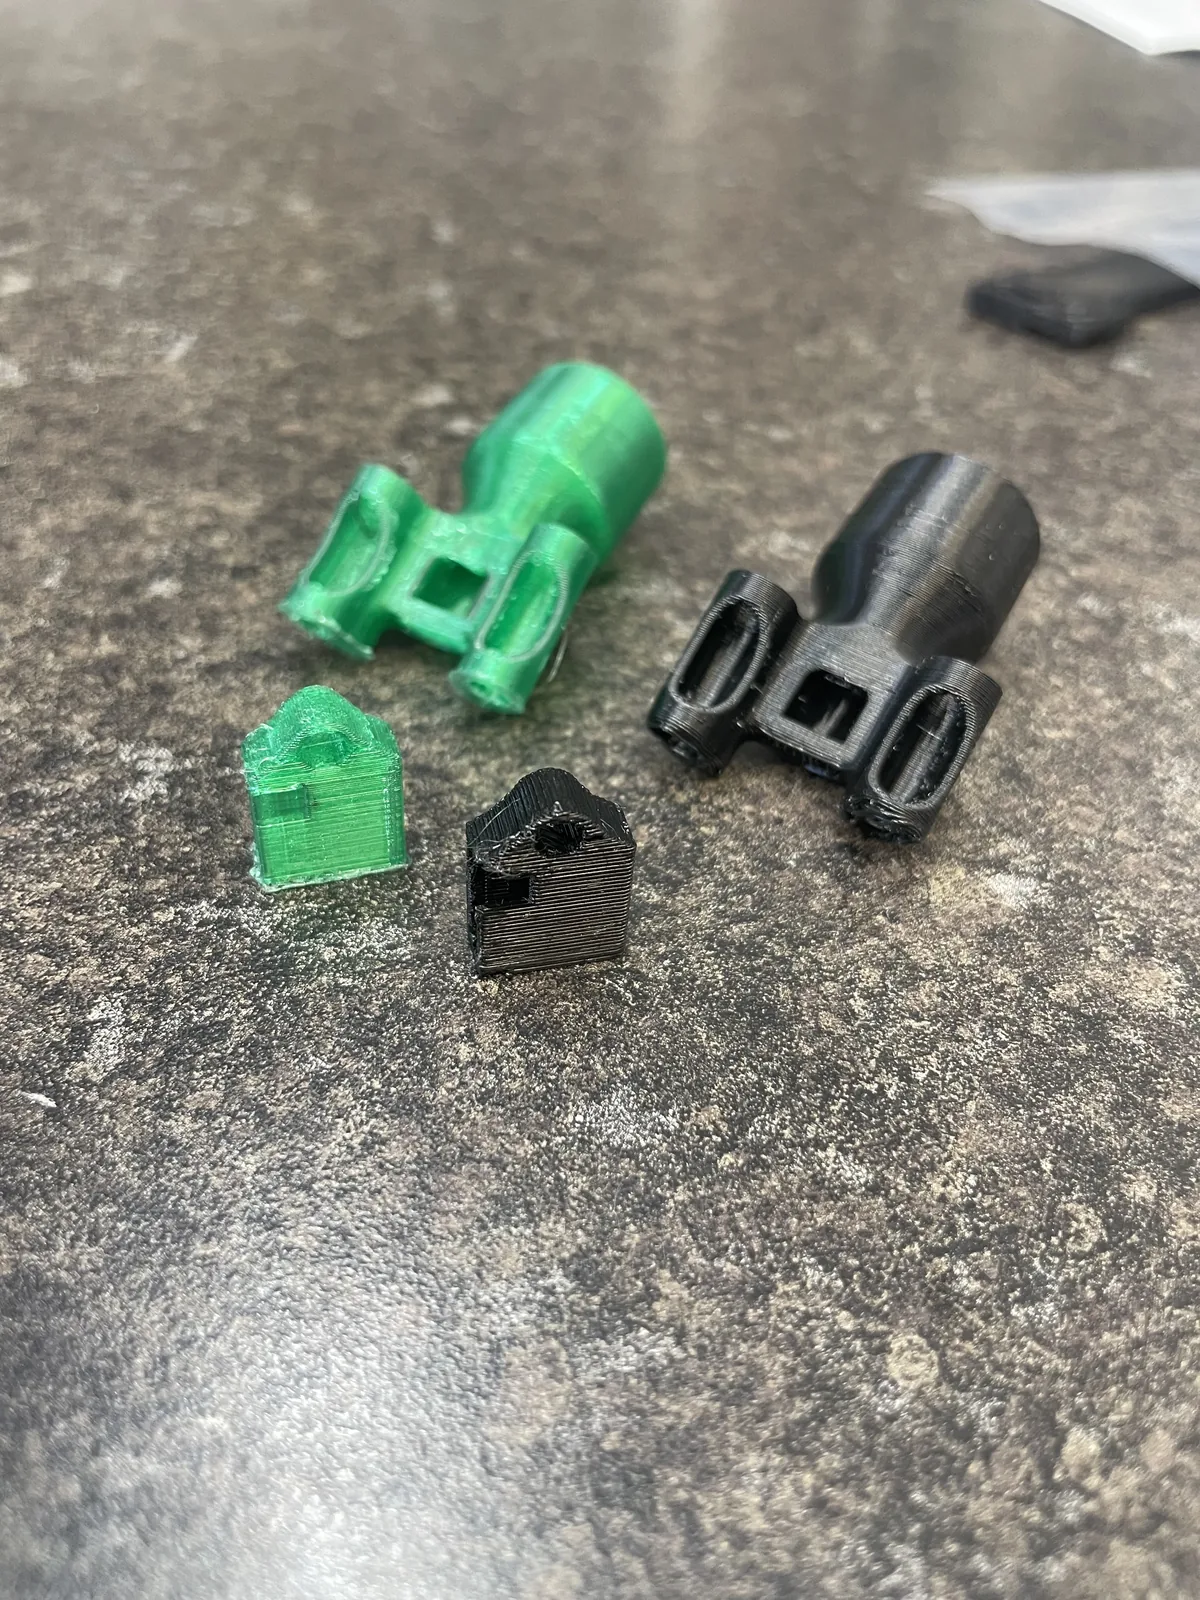
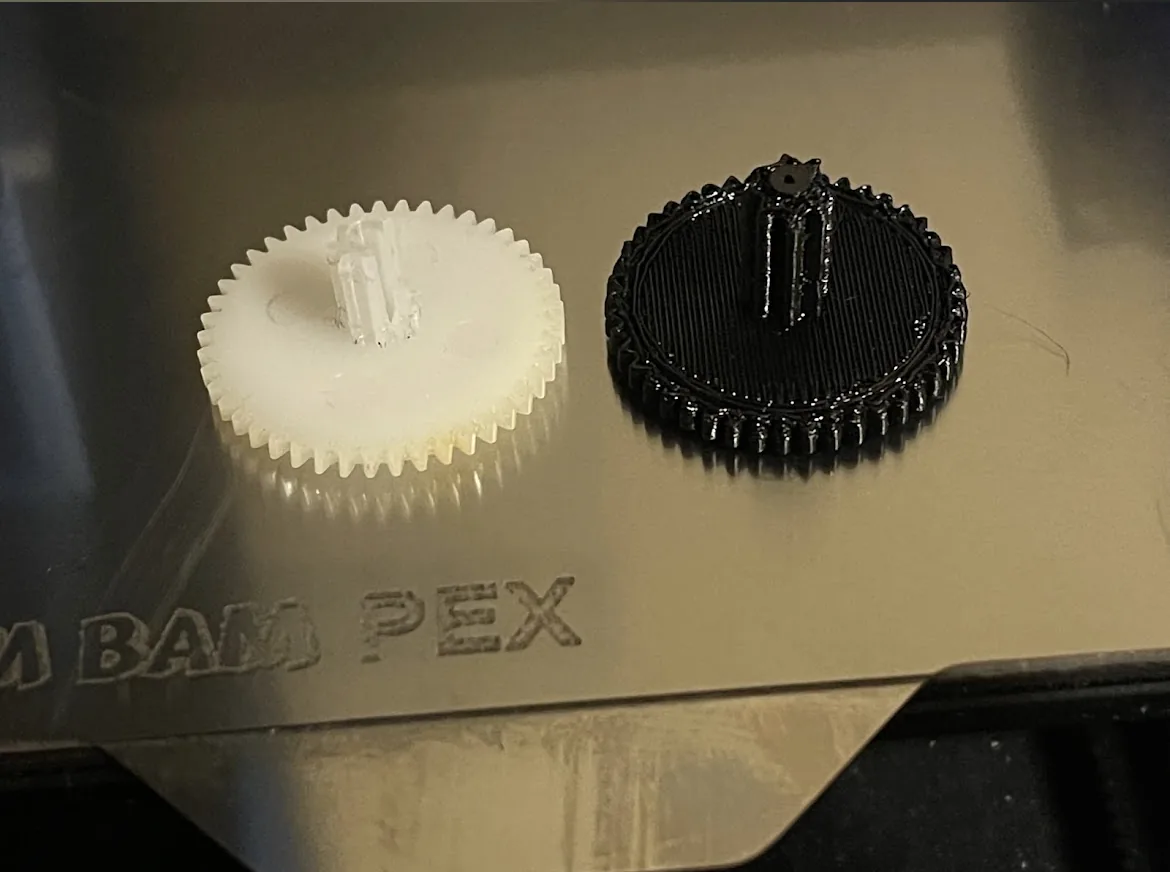
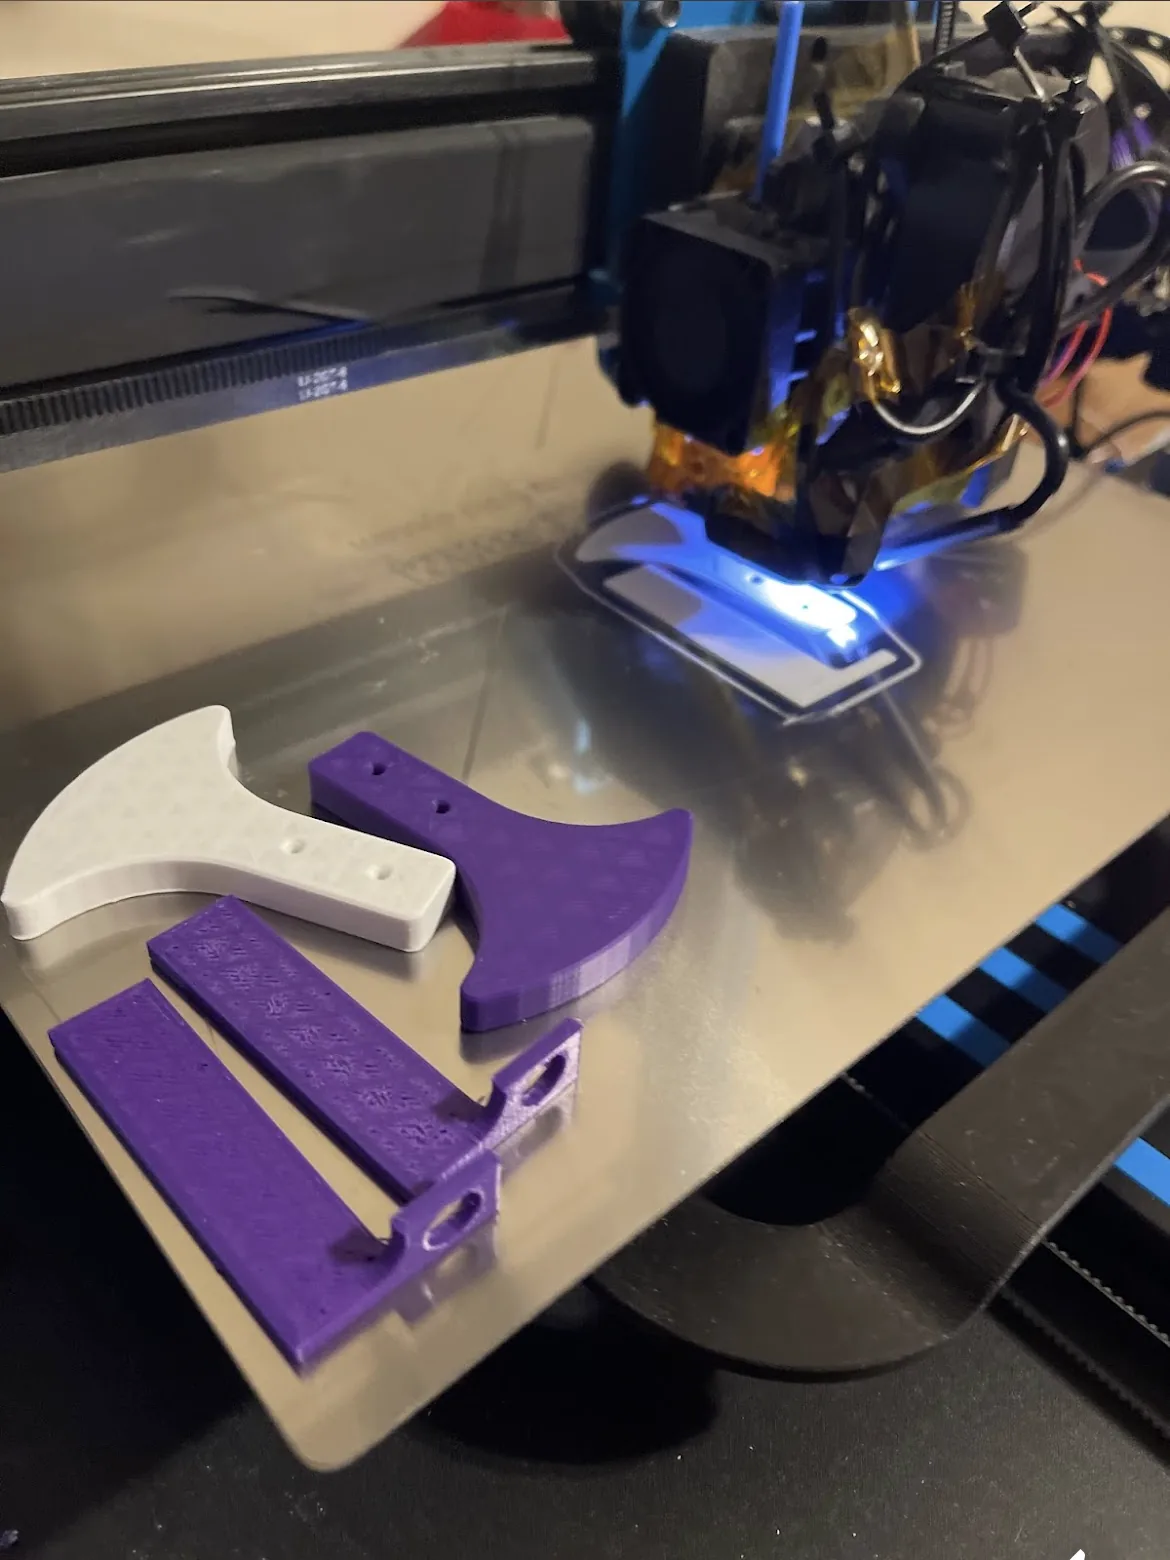
The less glamorous work is often the most useful. Small clips, tube-shaped fittings, brackets and gears are exactly the sort of part that a business or hobbyist cannot buy separately. These images show typical examples. Notice the clean edges, the crisp holes and the way different colours are used to tell parts apart. The business parts page describes how such parts are measured and recreated.
Colour, texture and display pieces
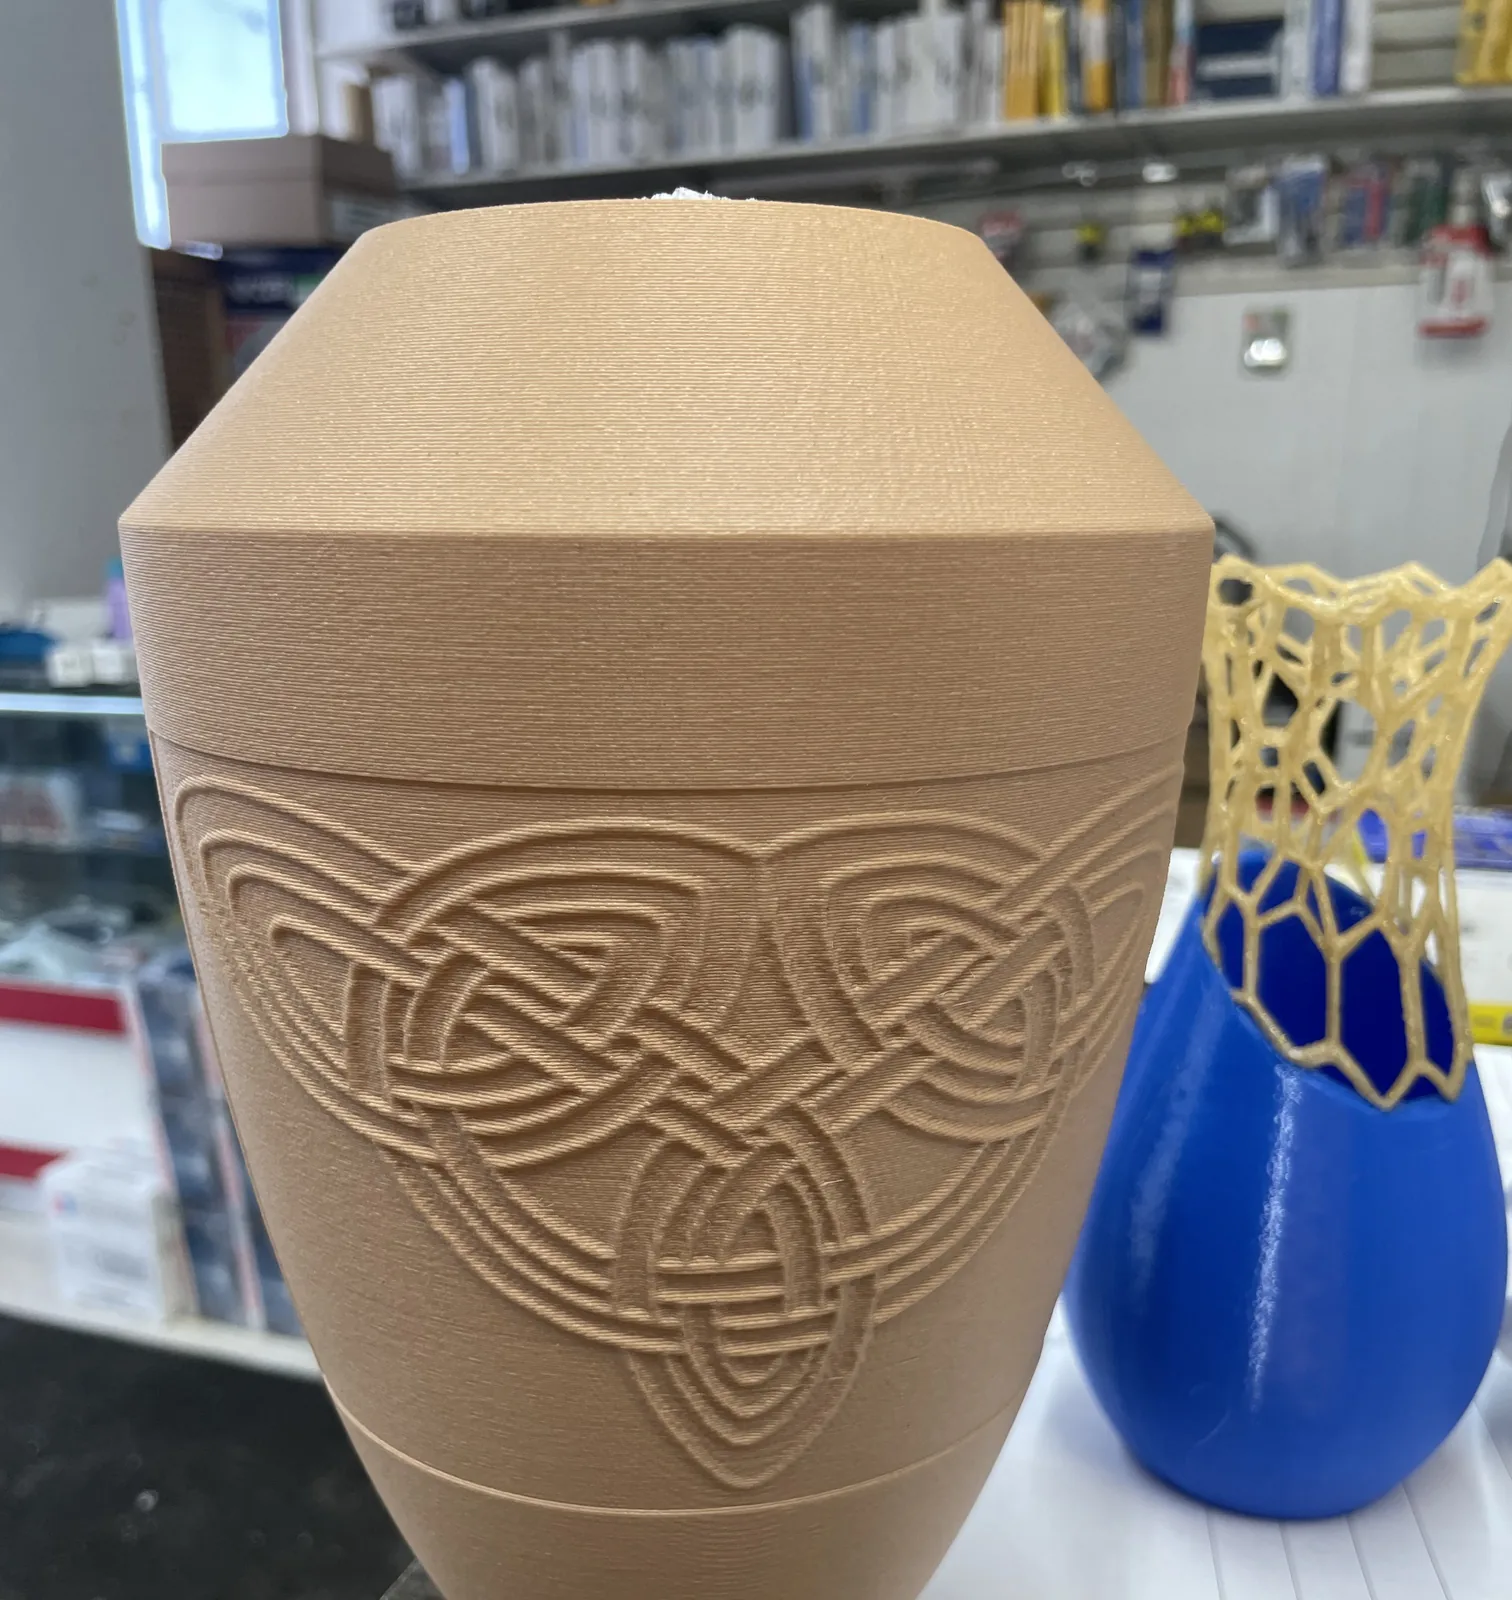
FDM can also be playful. Silk-finish and multicolour filaments give vases a shimmering look, and carefully designed geometry like lattices or relief patterns shows how much surface detail is possible with a 0.4 mm nozzle. These pieces demonstrate machine tuning as much as design: clean walls, tidy seams and consistent extrusion are visible at a glance. They also make excellent test objects for new settings, so many of them started life as calibration exercises.
Print-in-place mechanisms and articulated models
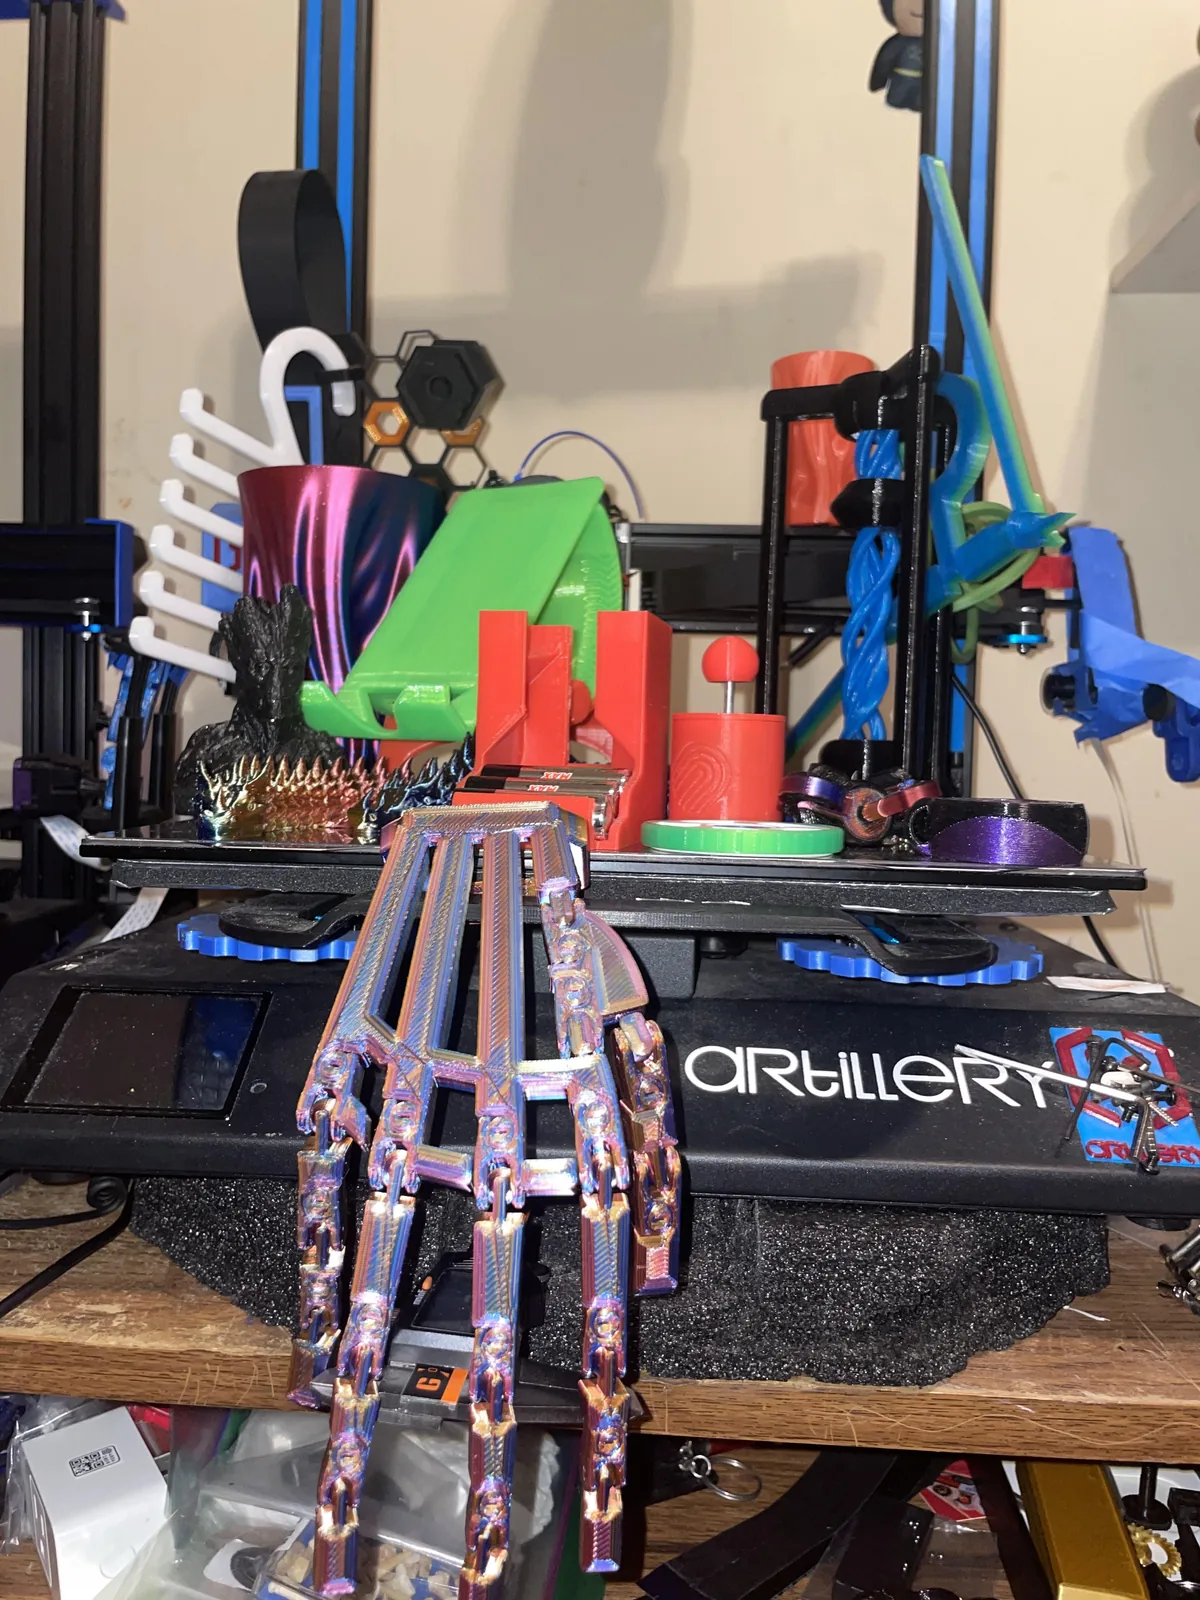
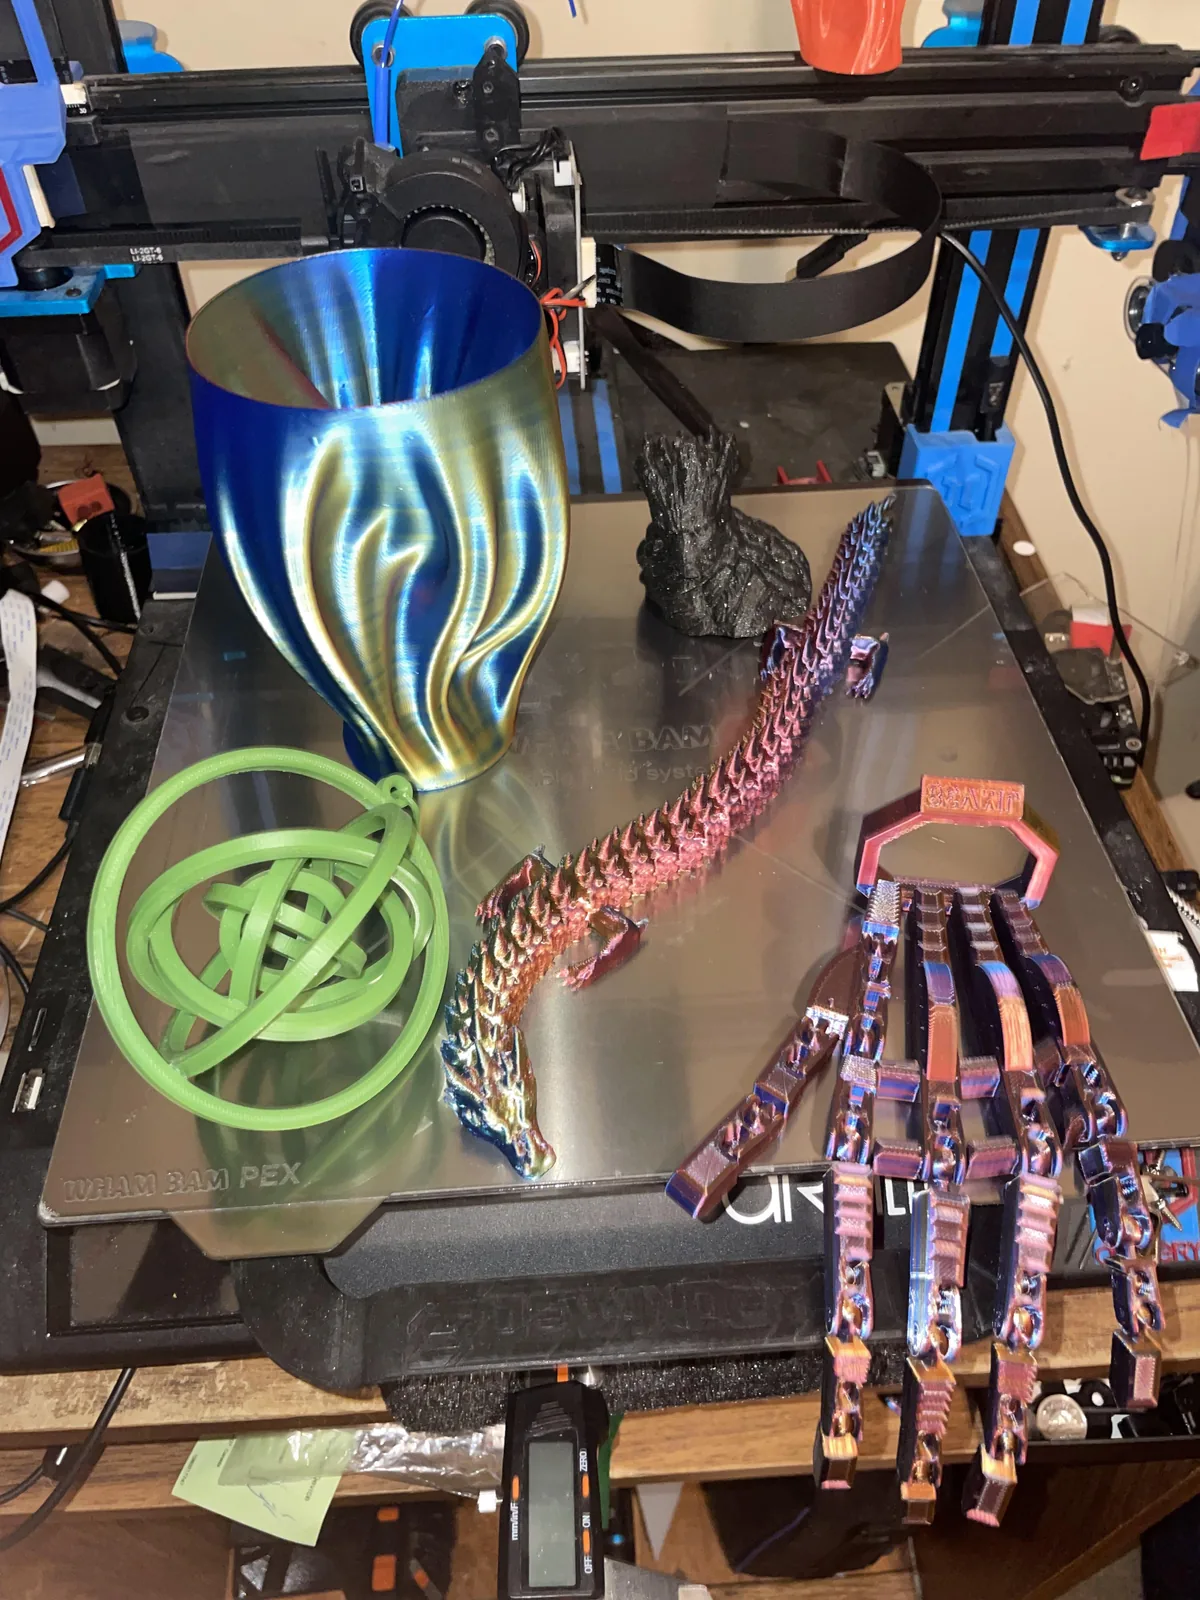
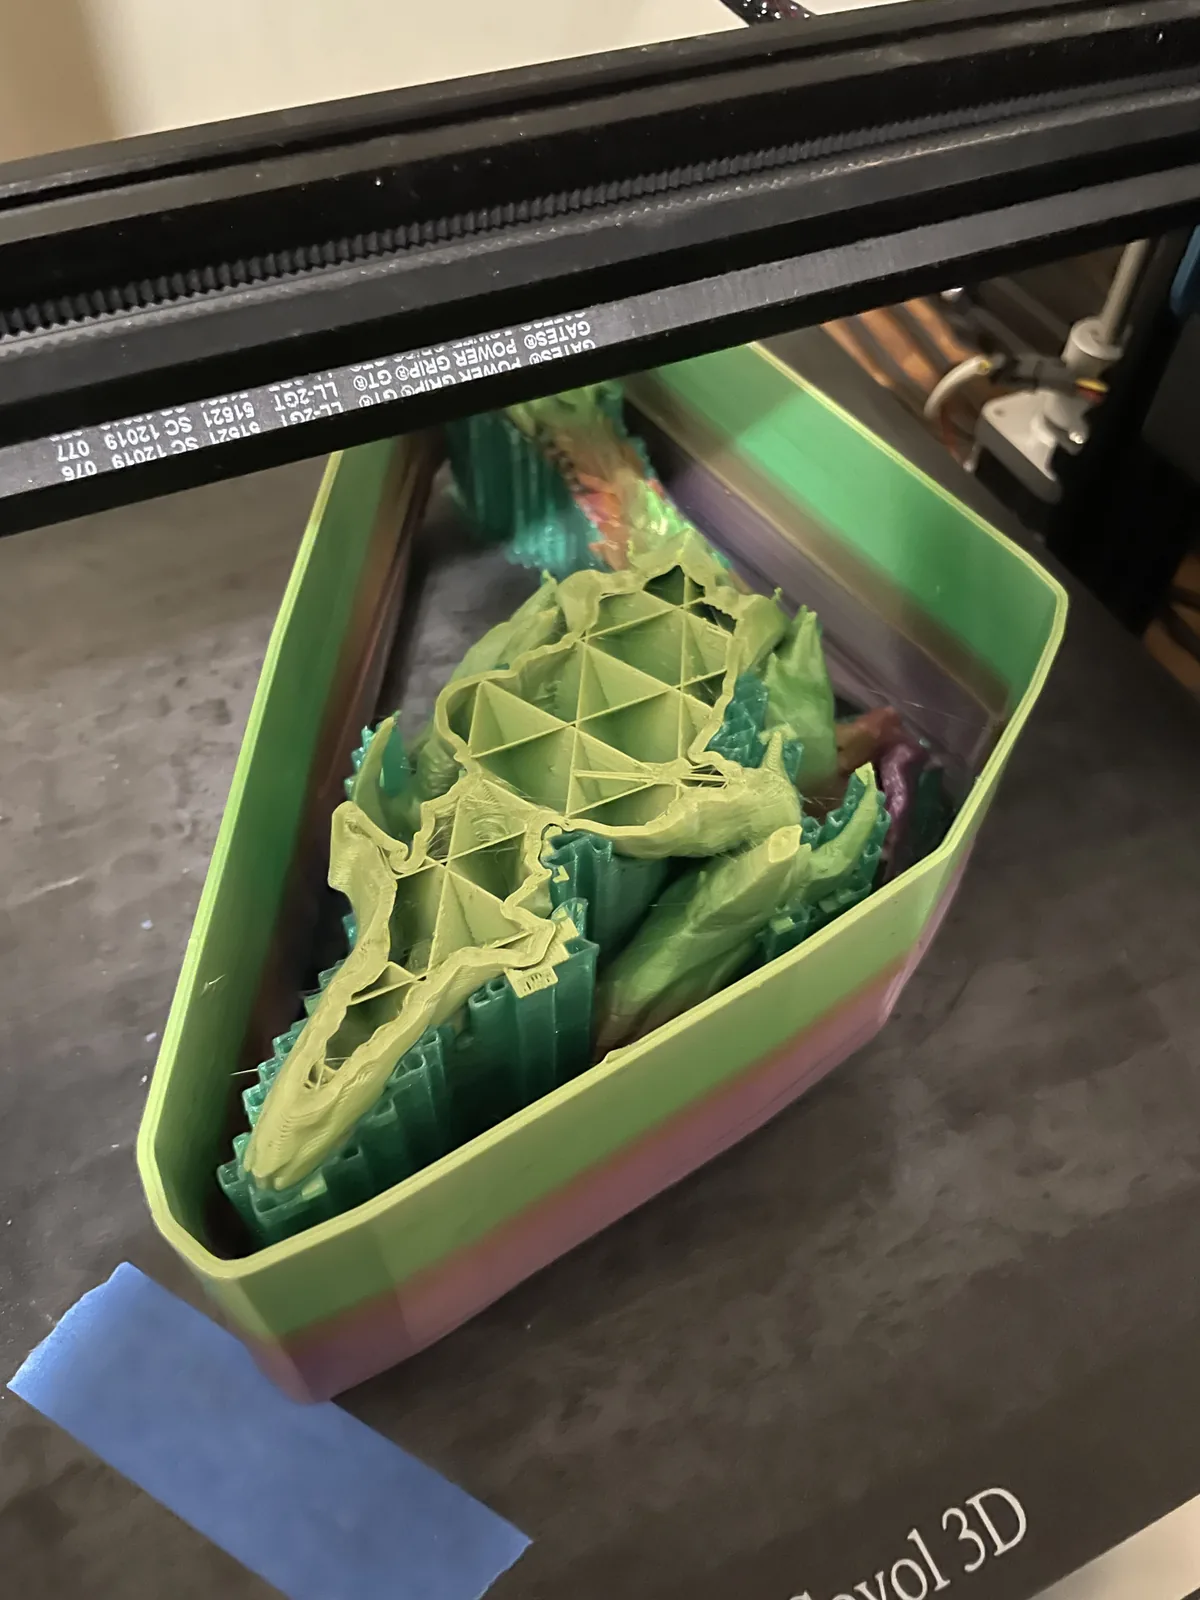
Print-in-place objects are printed with moving joints already in position, with small clearances that stop the plastic from fusing. They are a stress test for tolerances: if the printer is not well tuned, the joints weld solid. Articulated hands, flexible dragons and gyroscope rings are classic examples. They demonstrate that the machines are calibrated carefully enough to hold clearances of a few tenths of a millimetre, which is the same skill needed for a snug fit on a replacement part.
Close-ups: infill, hardware and details
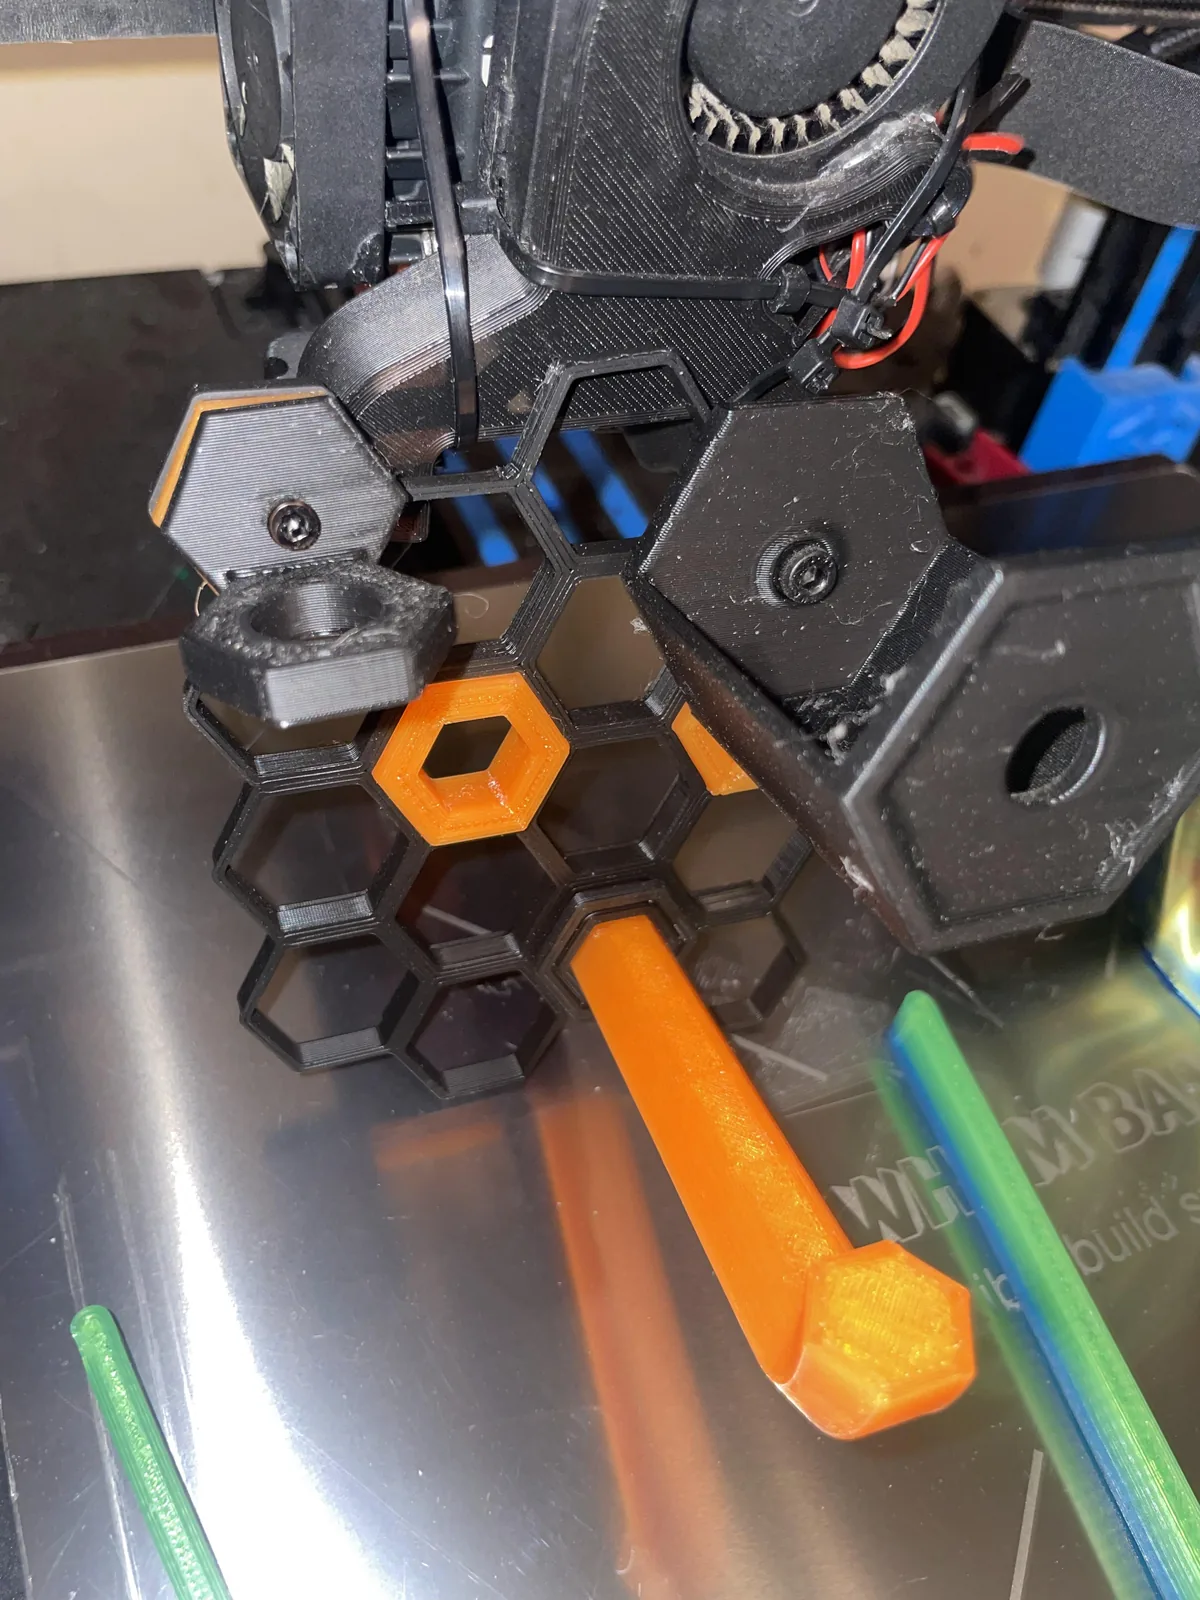
Close-up photos show how a printed object is built. The honeycomb piece below combines a hexagonal lattice with solid hex parts, a good demonstration of how infill patterns and hardware features fit together. Seeing the toolhead nearby is a reminder that every one of these objects was laid down line by line.
Design renders from the case study
Not every project starts as a photo. The webcam mount was developed as a parametric model first, then printed. Renders of its three versions are on the case study page, with the dimensions and clearances used in each.
See something you need?
If a picture here resembles your project, email a short description and a reference photo. Jose can usually say quickly whether it is a good fit for FDM, which material to use and what to expect. For general questions, see the FAQ, or read how orders move from message to finished part on the how it works page.