
How ordering works
A clear, step-by-step path from your first message to a finished print or a repaired printer.
The short version
Ordering from a home-based shop should be simpler than ordering from a large company, not harder. There is no account to create, no cart, and no automated quote that guesses wildly. You describe what you need by email, Jose replies with questions or a plan, you agree on a quote, and the work is done. The details below explain each step so you know what to expect and how to make the process quick.
Step 1: Send your request
Email corsaircustom3d@gmail.com with as much of the following as you have. Do not worry if you do not know everything. Partial information is fine, and questions will fill the gaps.
For a print or a part
- What the part does, and where and how it will be used.
- A 3D file such as STL, 3MF or STEP if you have one, or photos, sketches or drawings if you do not.
- Key dimensions, and a photo of the original with a ruler or coin beside it for scale.
- Quantity, preferred colour, and the date you need it.
- Any special needs: outdoor use, heat, food contact, load, finish, or confidentiality.
For a printer repair
- The printer brand and model, and whether it runs Marlin, Klipper or other firmware, if you know.
- The symptom, when it started, and anything that changed just before.
- What you have already tried, and any error messages on the screen.
- Photos of a failed print, and a short video of the printer running if possible.
Step 2: Review and questions
Jose reads the request and replies. For prints, that reply might confirm the approach, suggest a material, or ask about a measurement. If the design needs to be created or adjusted, the reply covers that too. For repairs, you will usually get a list of probable causes and a recommendation: try a simple fix yourself, send more information, or arrange for the machine to be looked at. The aim is a clear, plain-language answer, not a sales script. If FDM or the shop is not the right fit, you will be told directly.
Step 3: Quote and agreement
The quote states what is included, the price, and the expected timing. Prints reflect material, machine time, design work if any, and finishing. Repairs separate labour from parts, and the diagnosis is explained before parts are replaced. Nothing is printed, opened up or repaired until you agree. If your needs change during the job, the quote is updated first, so the final cost is never a surprise. Payment details and how they are handled are agreed in the quote.
Step 4: Design and test fit, when needed
Custom parts sometimes need a modelling or adjustment stage. Dimensions are taken from your files, photos and measurements, then built as a parametric model so changes are easy. For fit-critical parts, a small test print of just the mating area may come first. This small step prevents a full-size reprint if a clearance is slightly off. The webcam mount case study shows this loop across three versions.
Step 5: Printing or repair
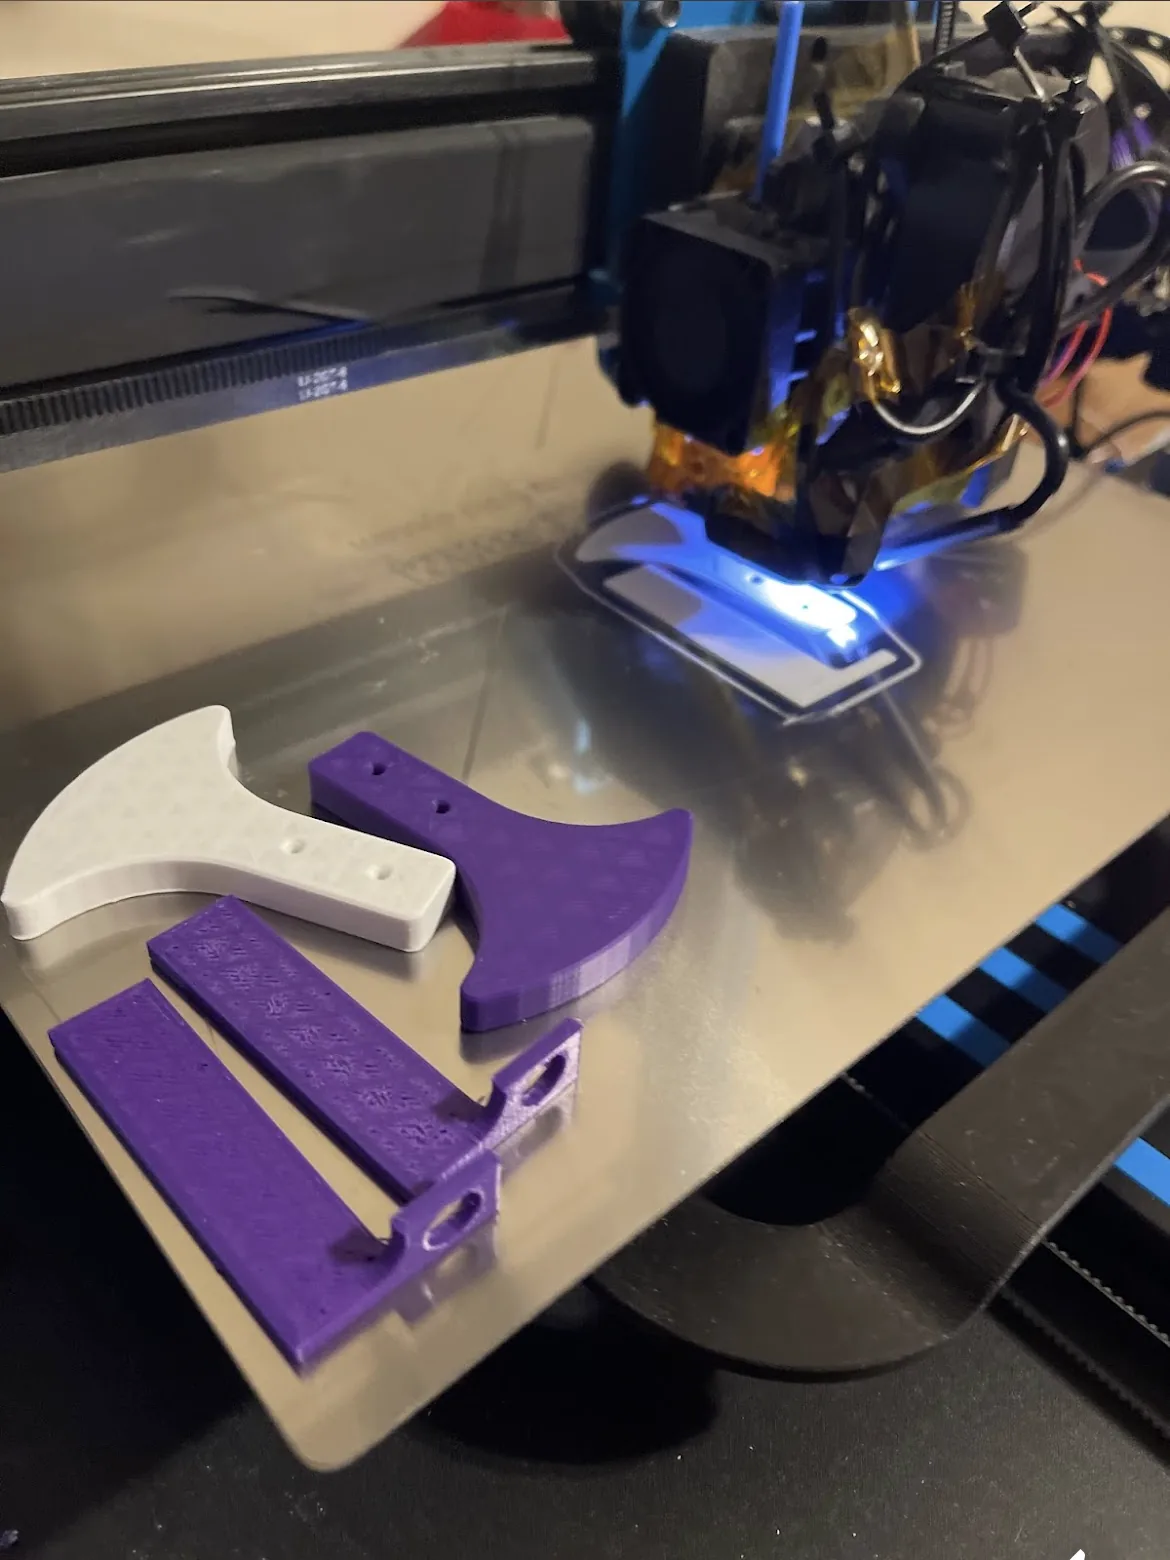
Your part is printed in the agreed material with settings chosen for the job: layer height, walls, infill, orientation and supports. Prints are watched during the critical first layers and inspected when finished. Repairs follow the diagnosis: the failed component is replaced or adjusted, the printer is calibrated, and a test print confirms that the repair solves the symptom. Timing depends on the queue, the material and the job size, and is shared when you approve the quote.
Step 6: Inspection and finishing
Before anything leaves the shop, it is checked against the agreed spec: dimensions that matter are measured, fits are tested where possible, and any specified finishing is completed. Typical finishing includes removing supports, cleaning edges, sanding, installing threaded inserts, and light assembly. If something does not meet the standard, it is reprinted or reworked before you see it.
Step 7: Handover
As the shop is home-based, there is no public counter. Pickup, local drop-off or shipping are arranged by message, and handover details are shared only with you. Small printed parts are straightforward to send, and printer repair advice often works remotely. Whichever method is used, the details, such as who pays for shipping and how items are packed, are agreed before the job is completed.
Step 8: Follow-up and the guarantee
Try the part, run the printer, or fly the model. If something is not right, tell Jose promptly and include photos. The work is guaranteed with no fixed time limit, since prints can behave differently once they are in real use. The next step is to diagnose what happened, then reprint, rework or repair as needed, and Jose is generous about reprints. Full details are on the quality guarantee page.
Tips for a smoother job
- Be specific about use. Heat, sunlight, load and chemicals decide the material.
- Include scale in photos. A ruler, caliper or coin lets dimensions be estimated.
- Share the deadline early. Tight schedules are managed best when known from the start.
- Keep the broken part. It is the best possible reference, even in pieces.
- Ask about options. A different colour, material or layer height can change cost and strength.
Confidentiality and file handling
Files and photos you send are used for your job only. They are not published or shared, and you can ask for them to be deleted when the job is done or kept for easy reorders. If you need a confidentiality agreement, mention it in your first message. More on this appears in the business parts page and the FAQ.
Ready to begin?
Open the contact page for the email address, a checklist you can copy, and the service area. If you are still deciding what you need, browse the printing services, the printer repair list and the gallery.